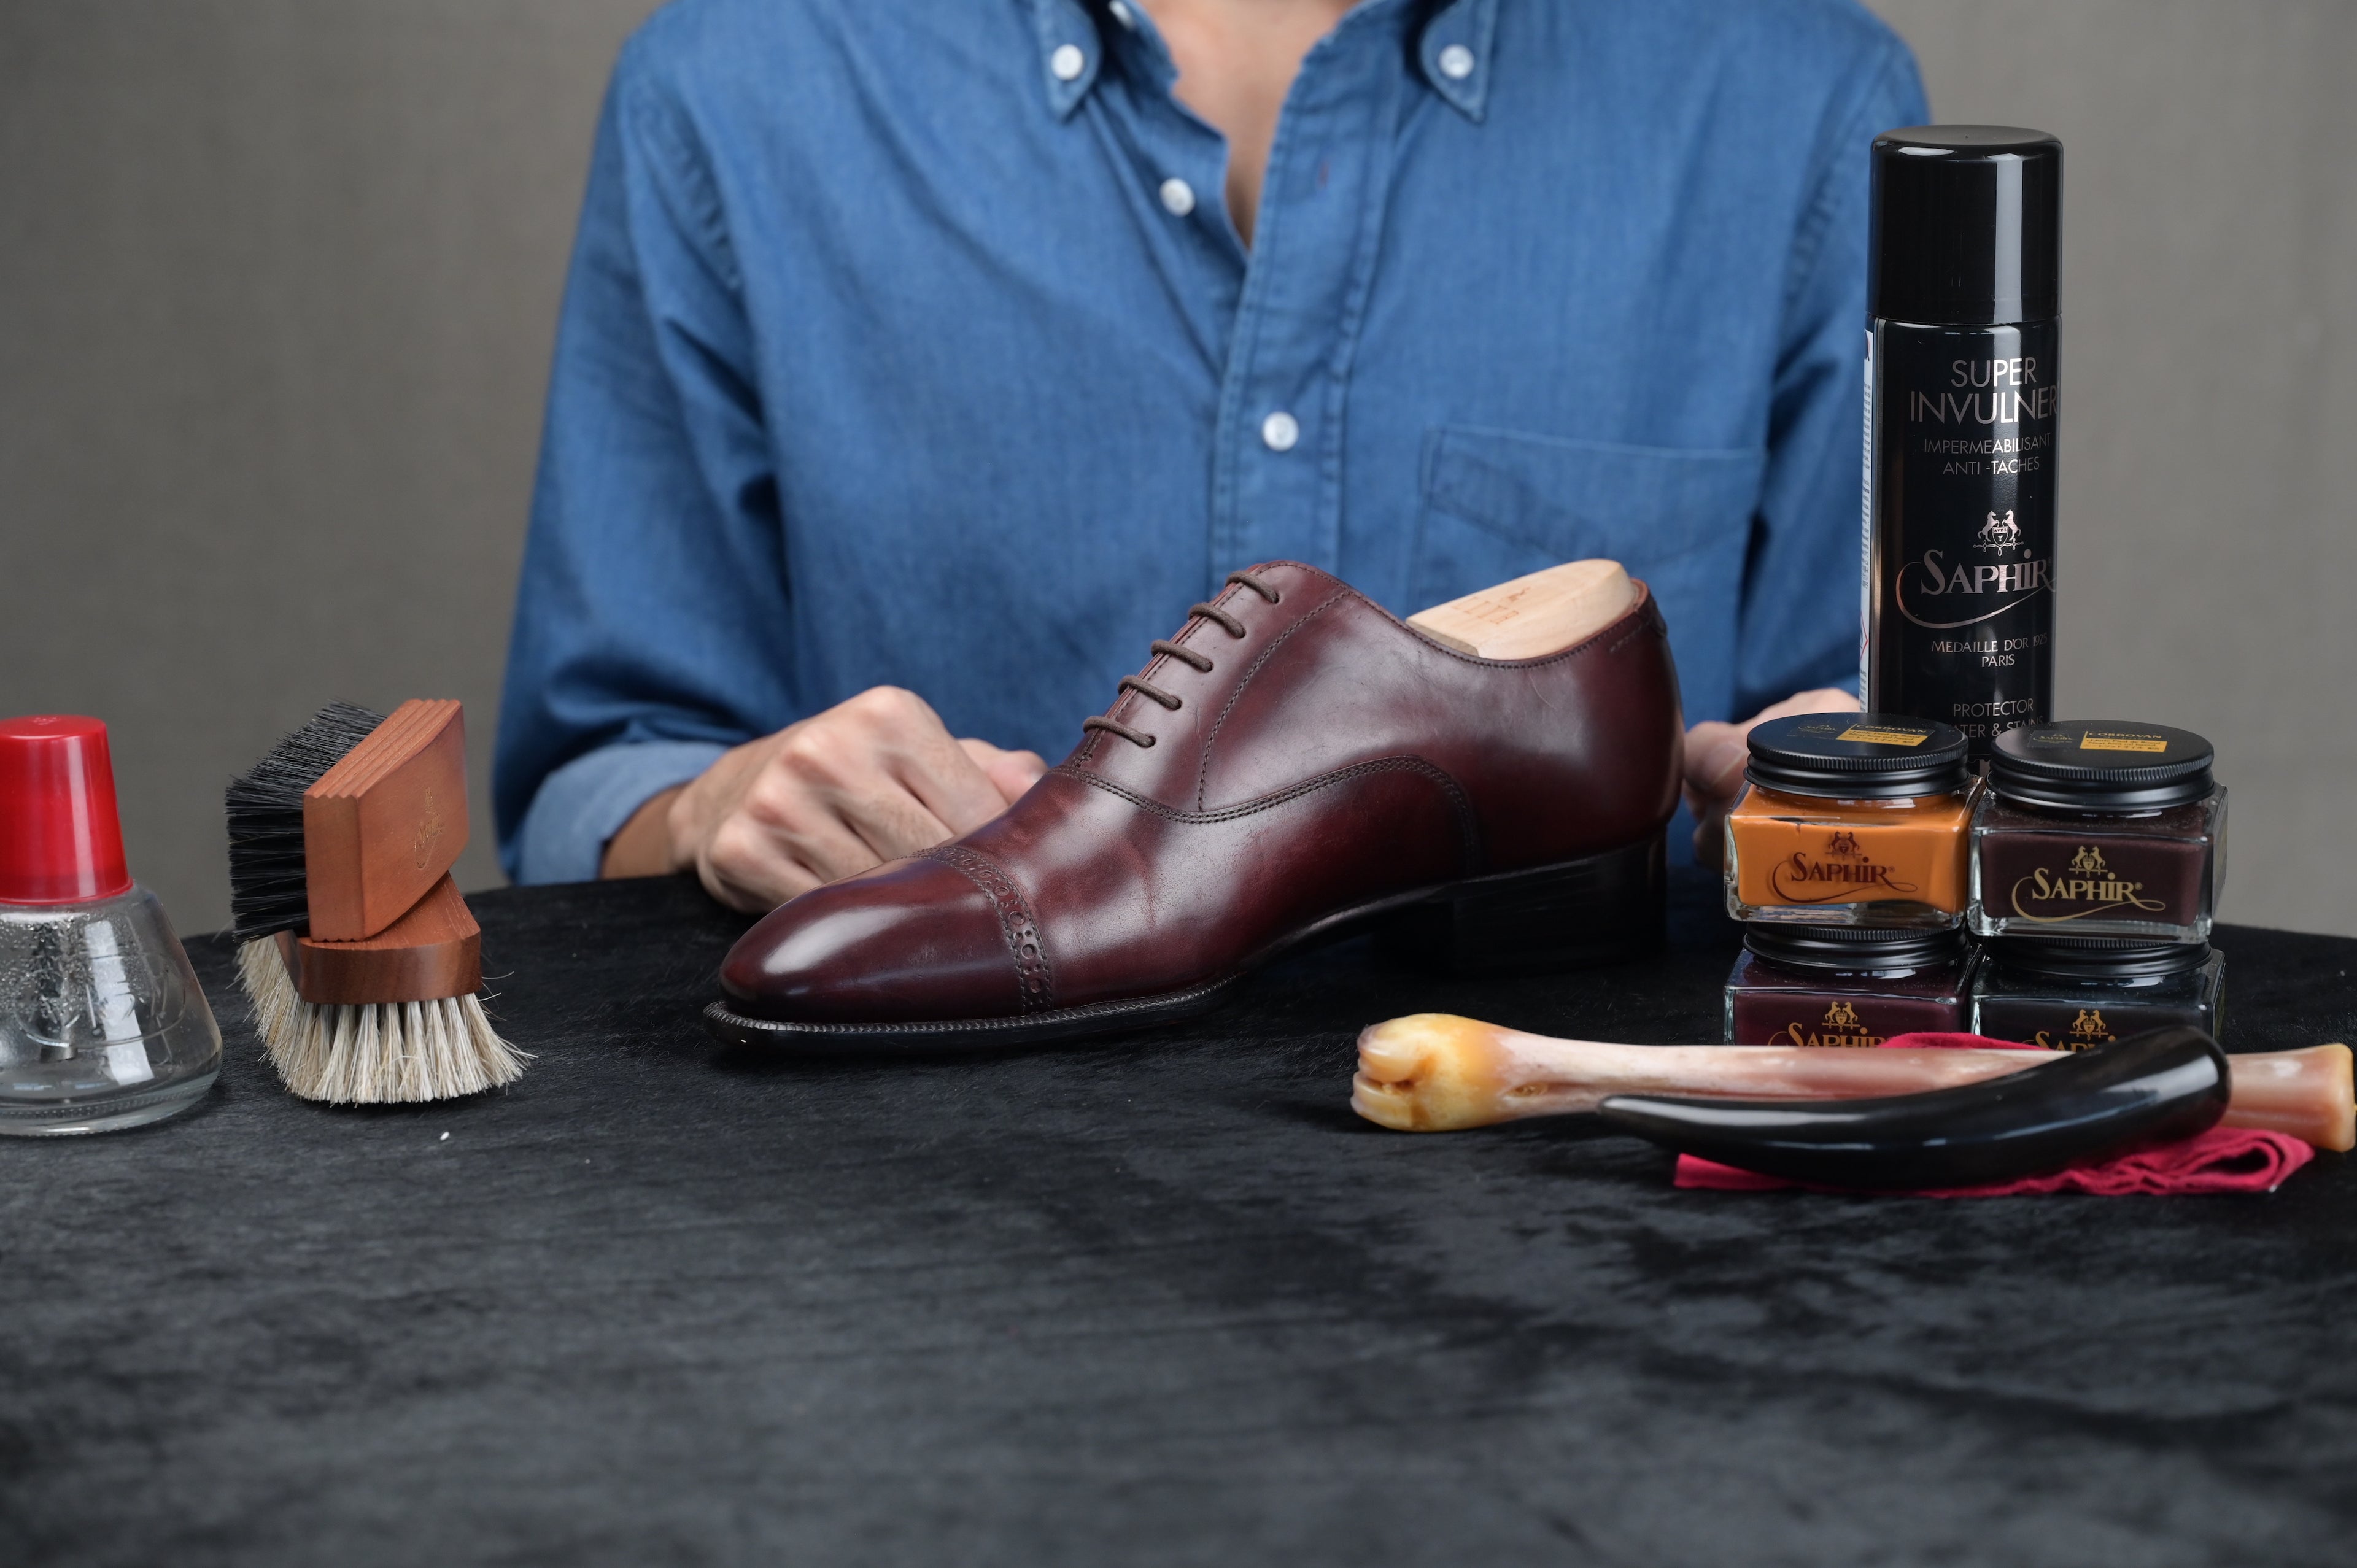
Shell Cordovan Shoe Care Guide
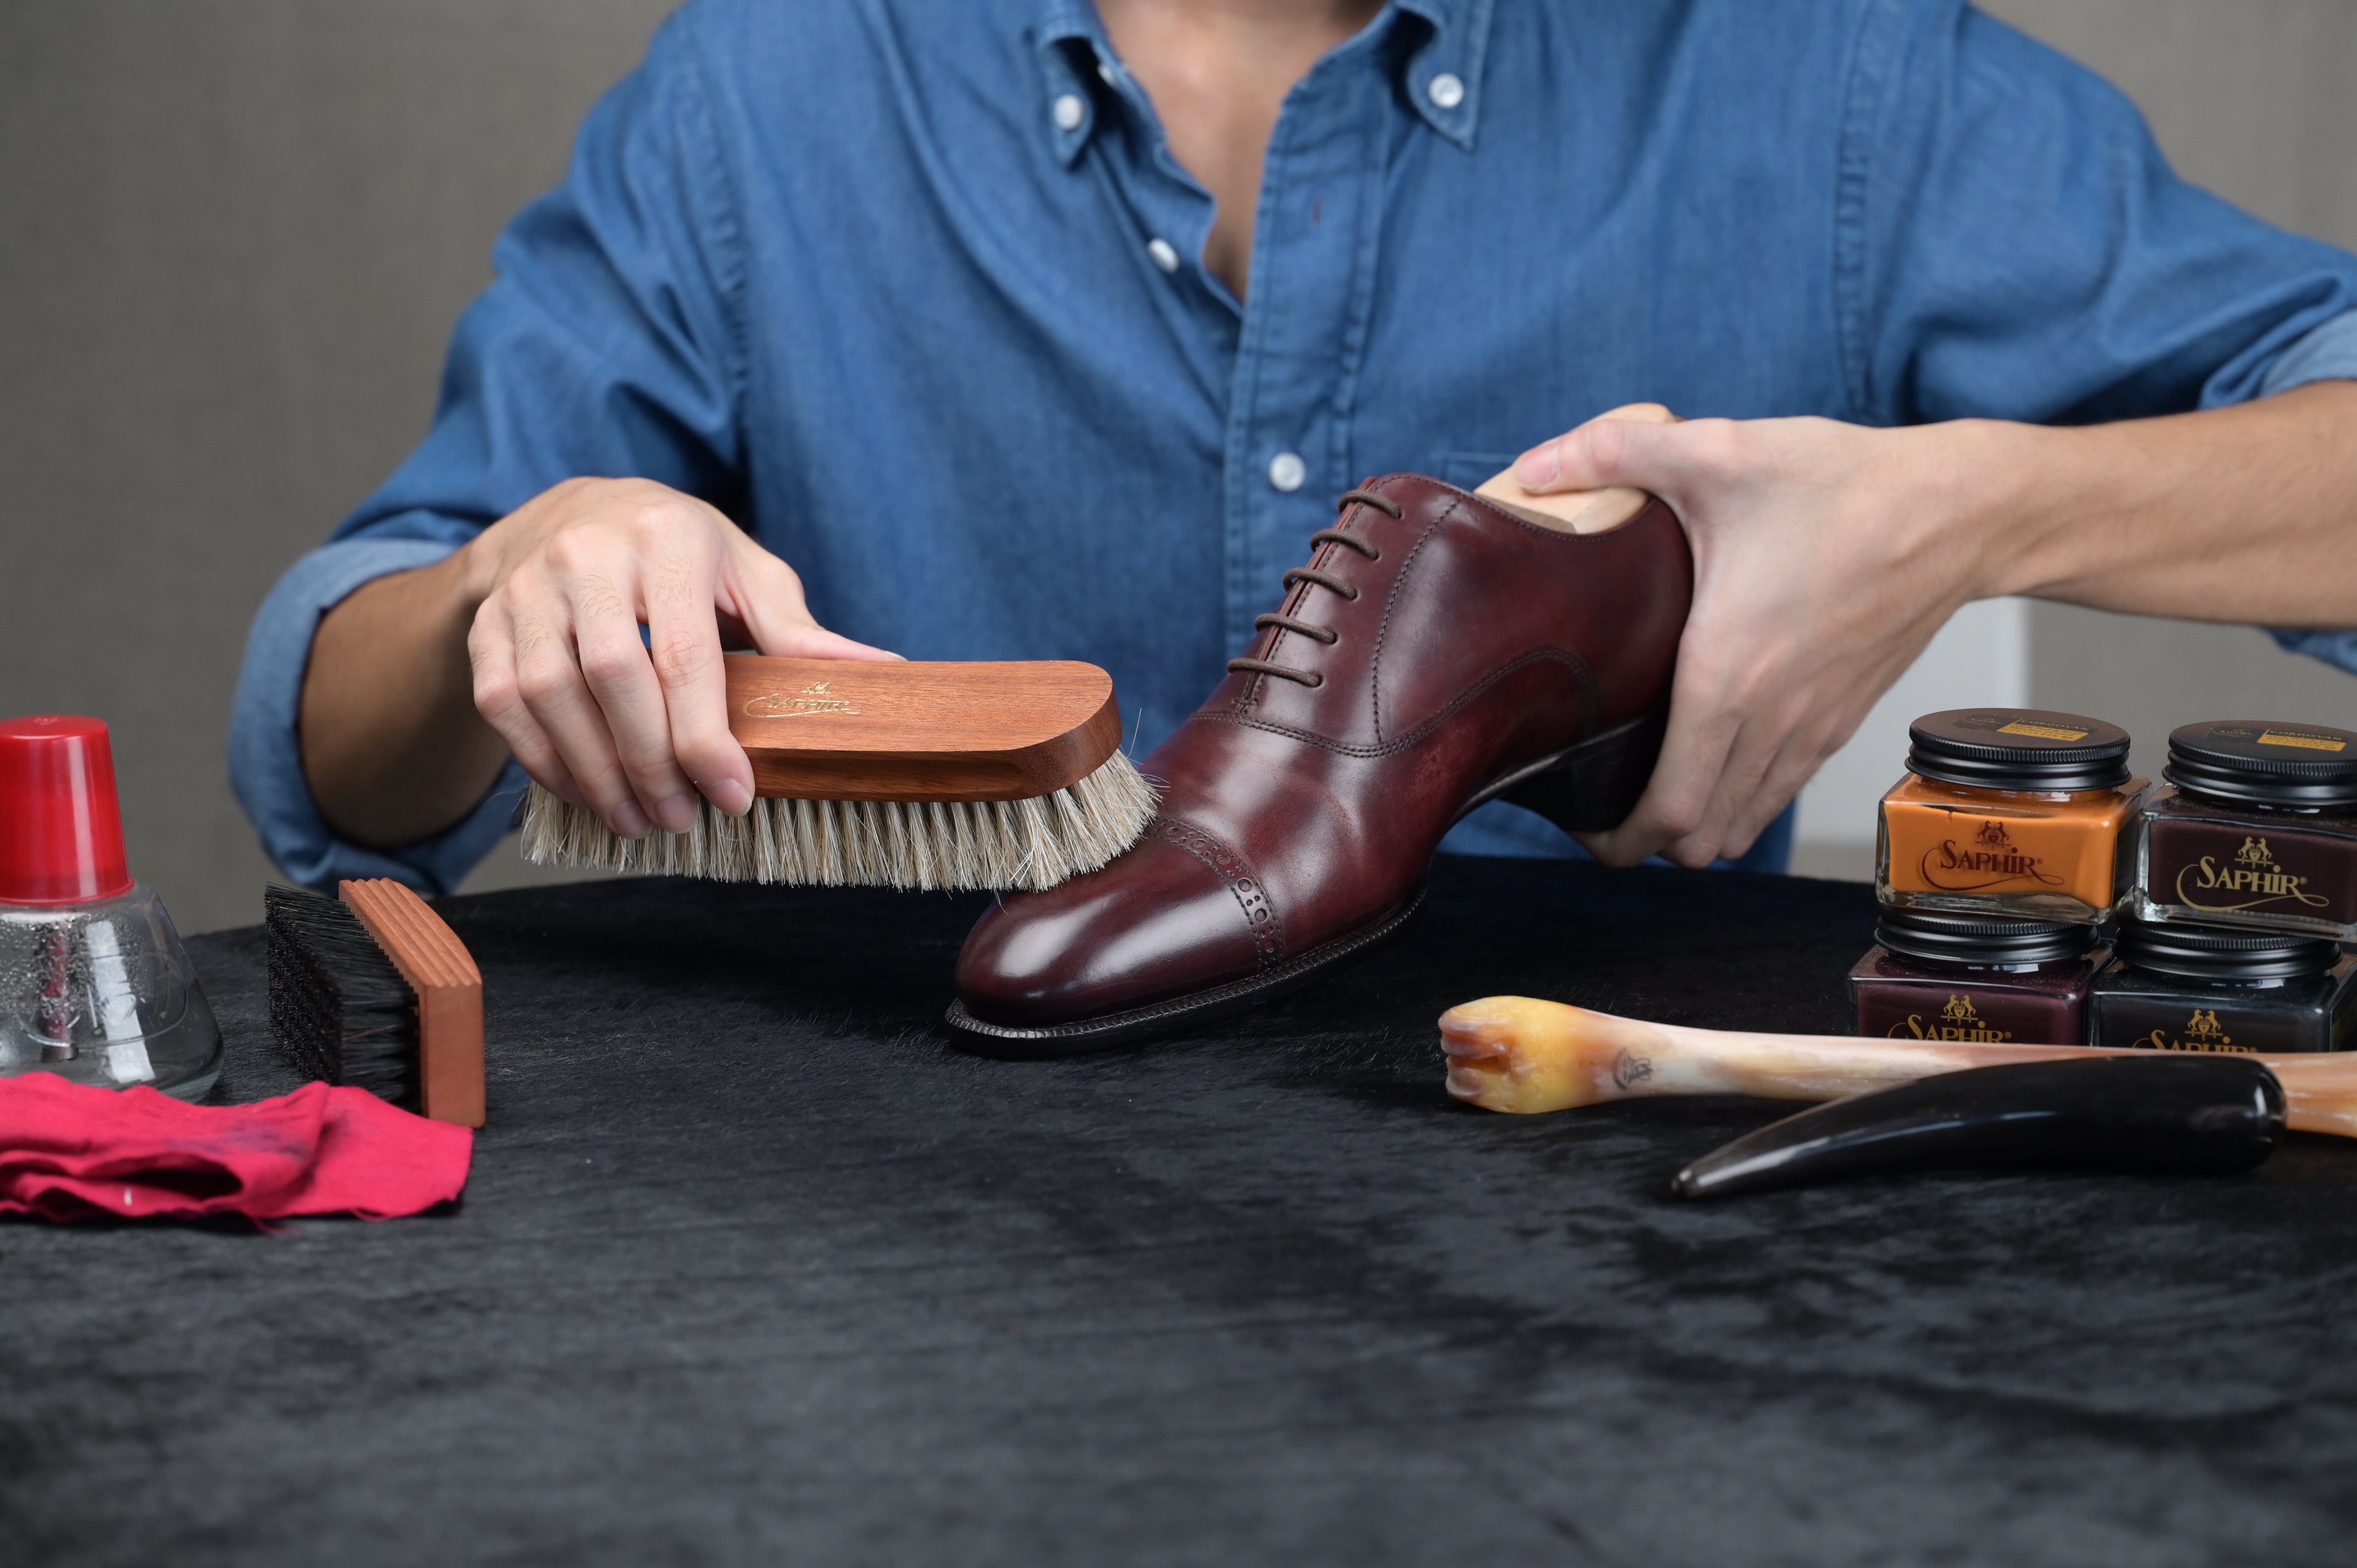
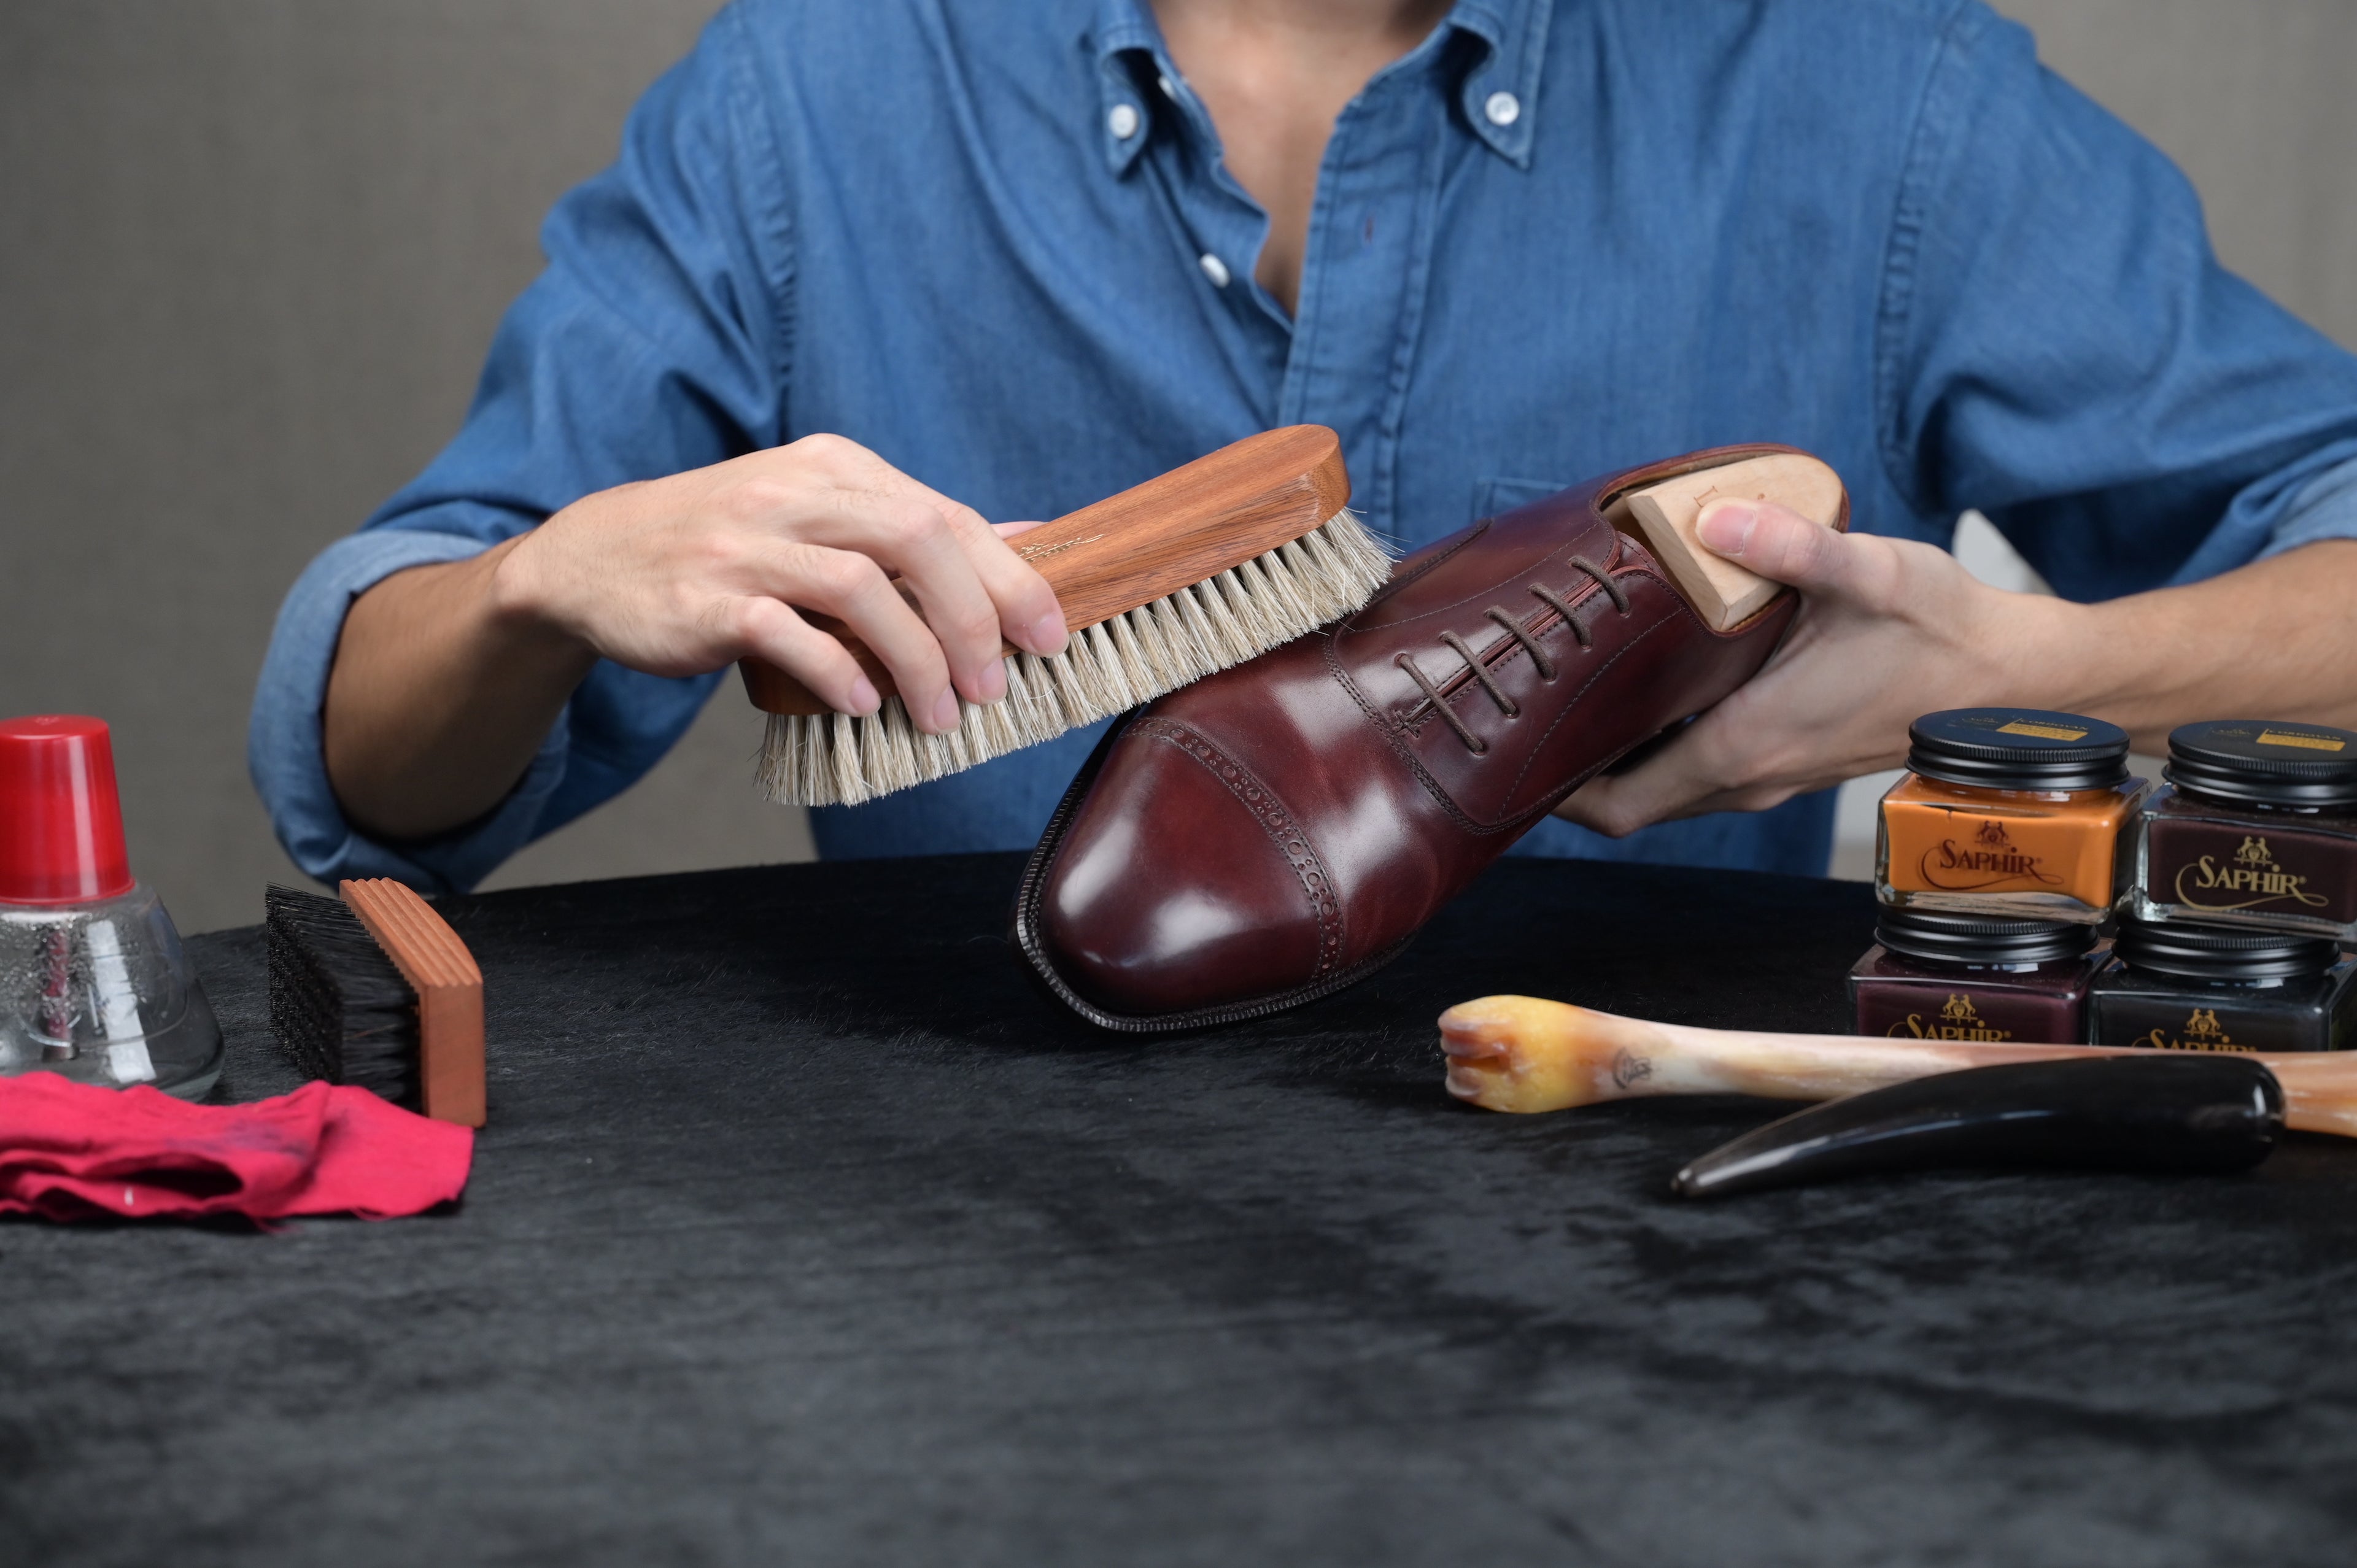
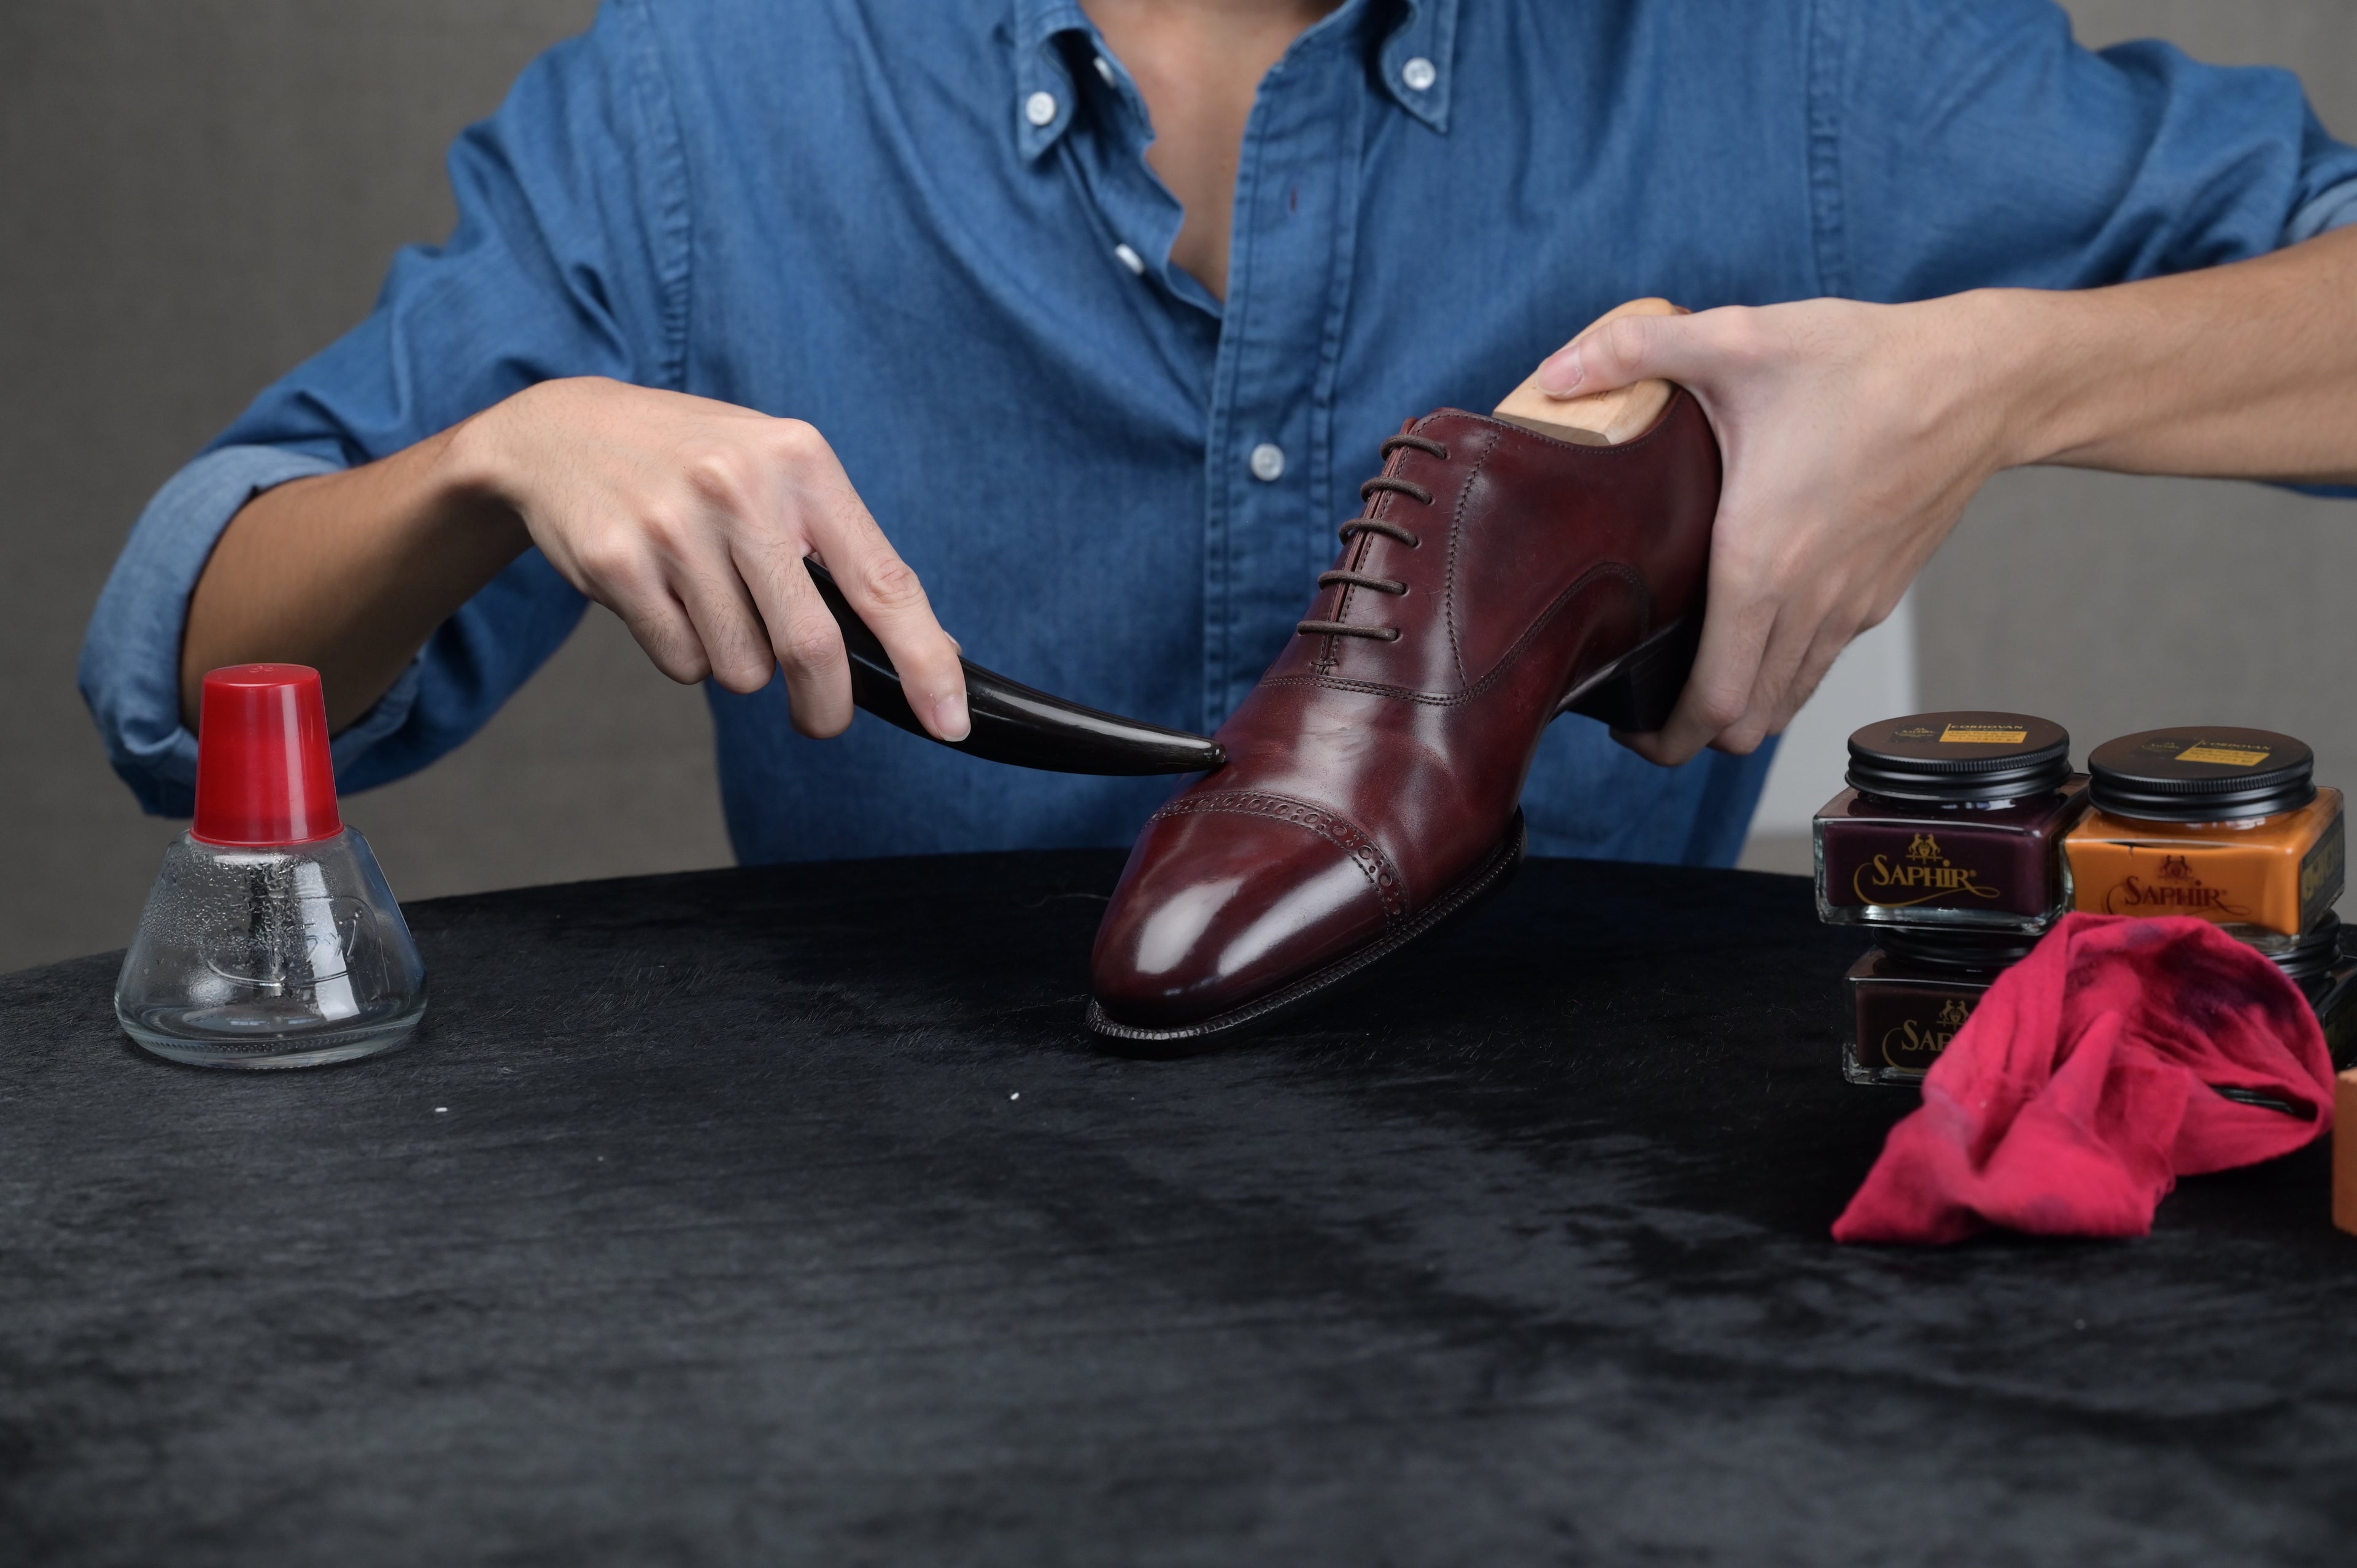
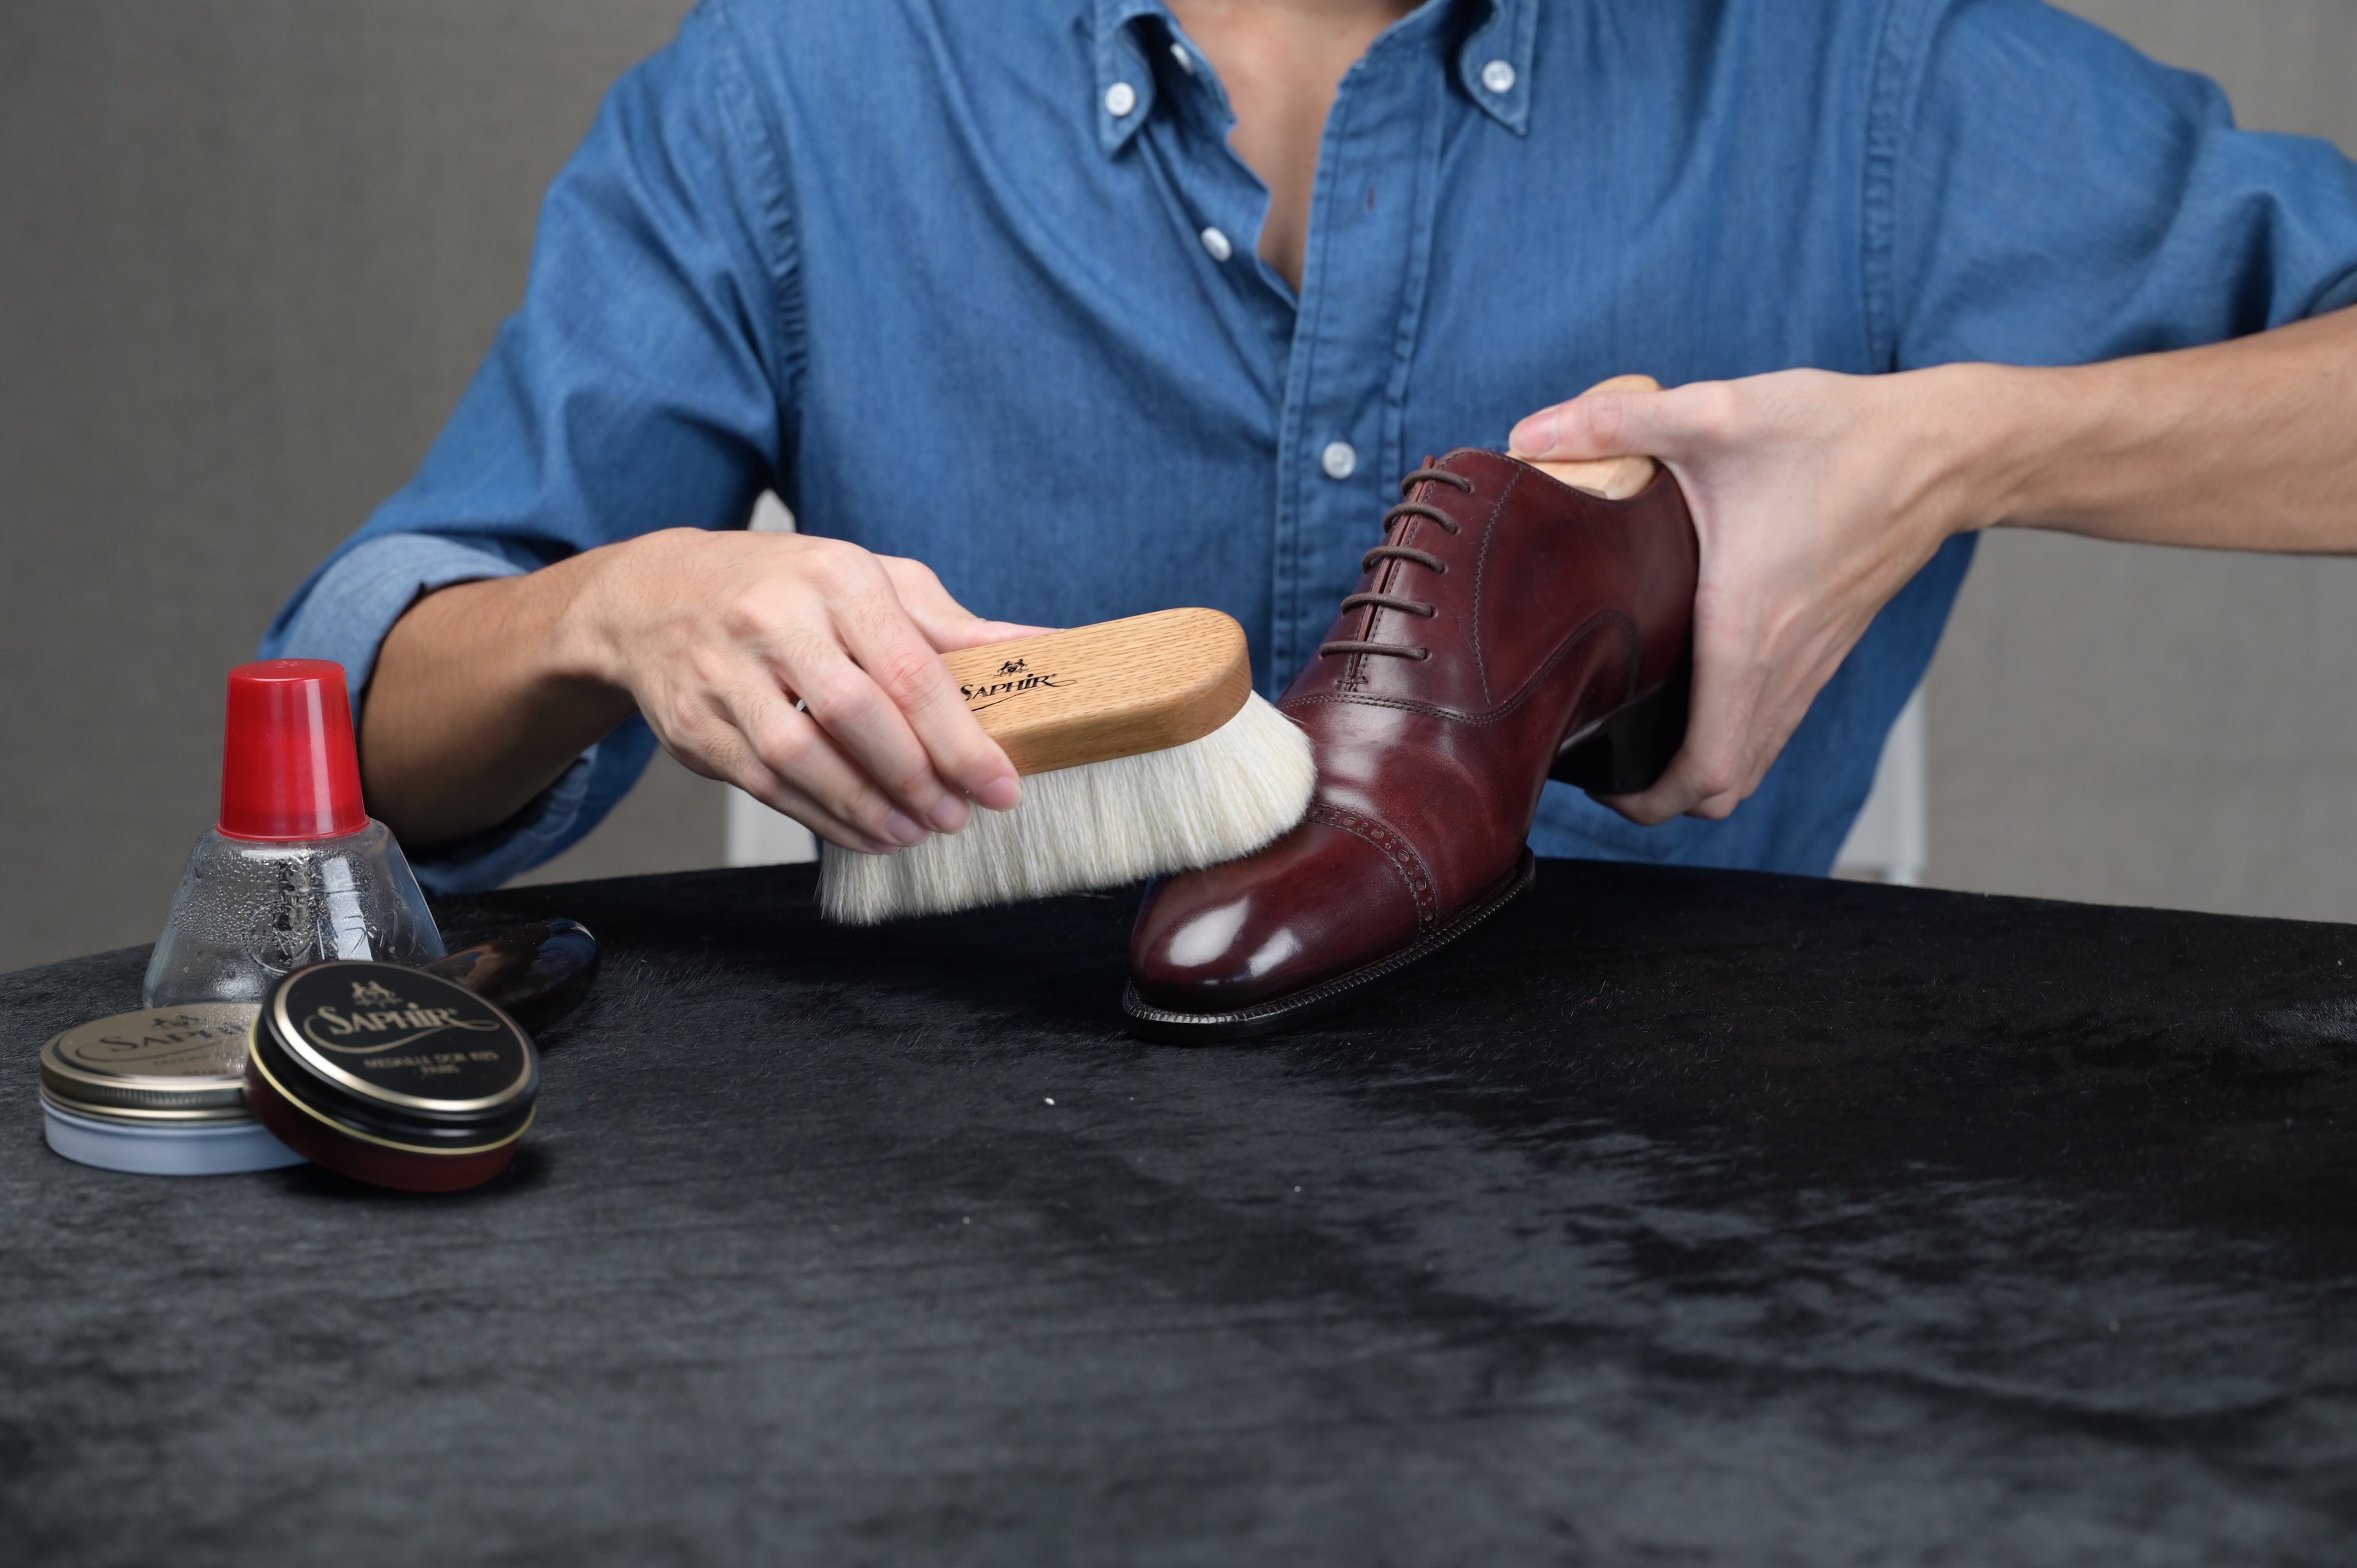
Step 1: Brush off dust
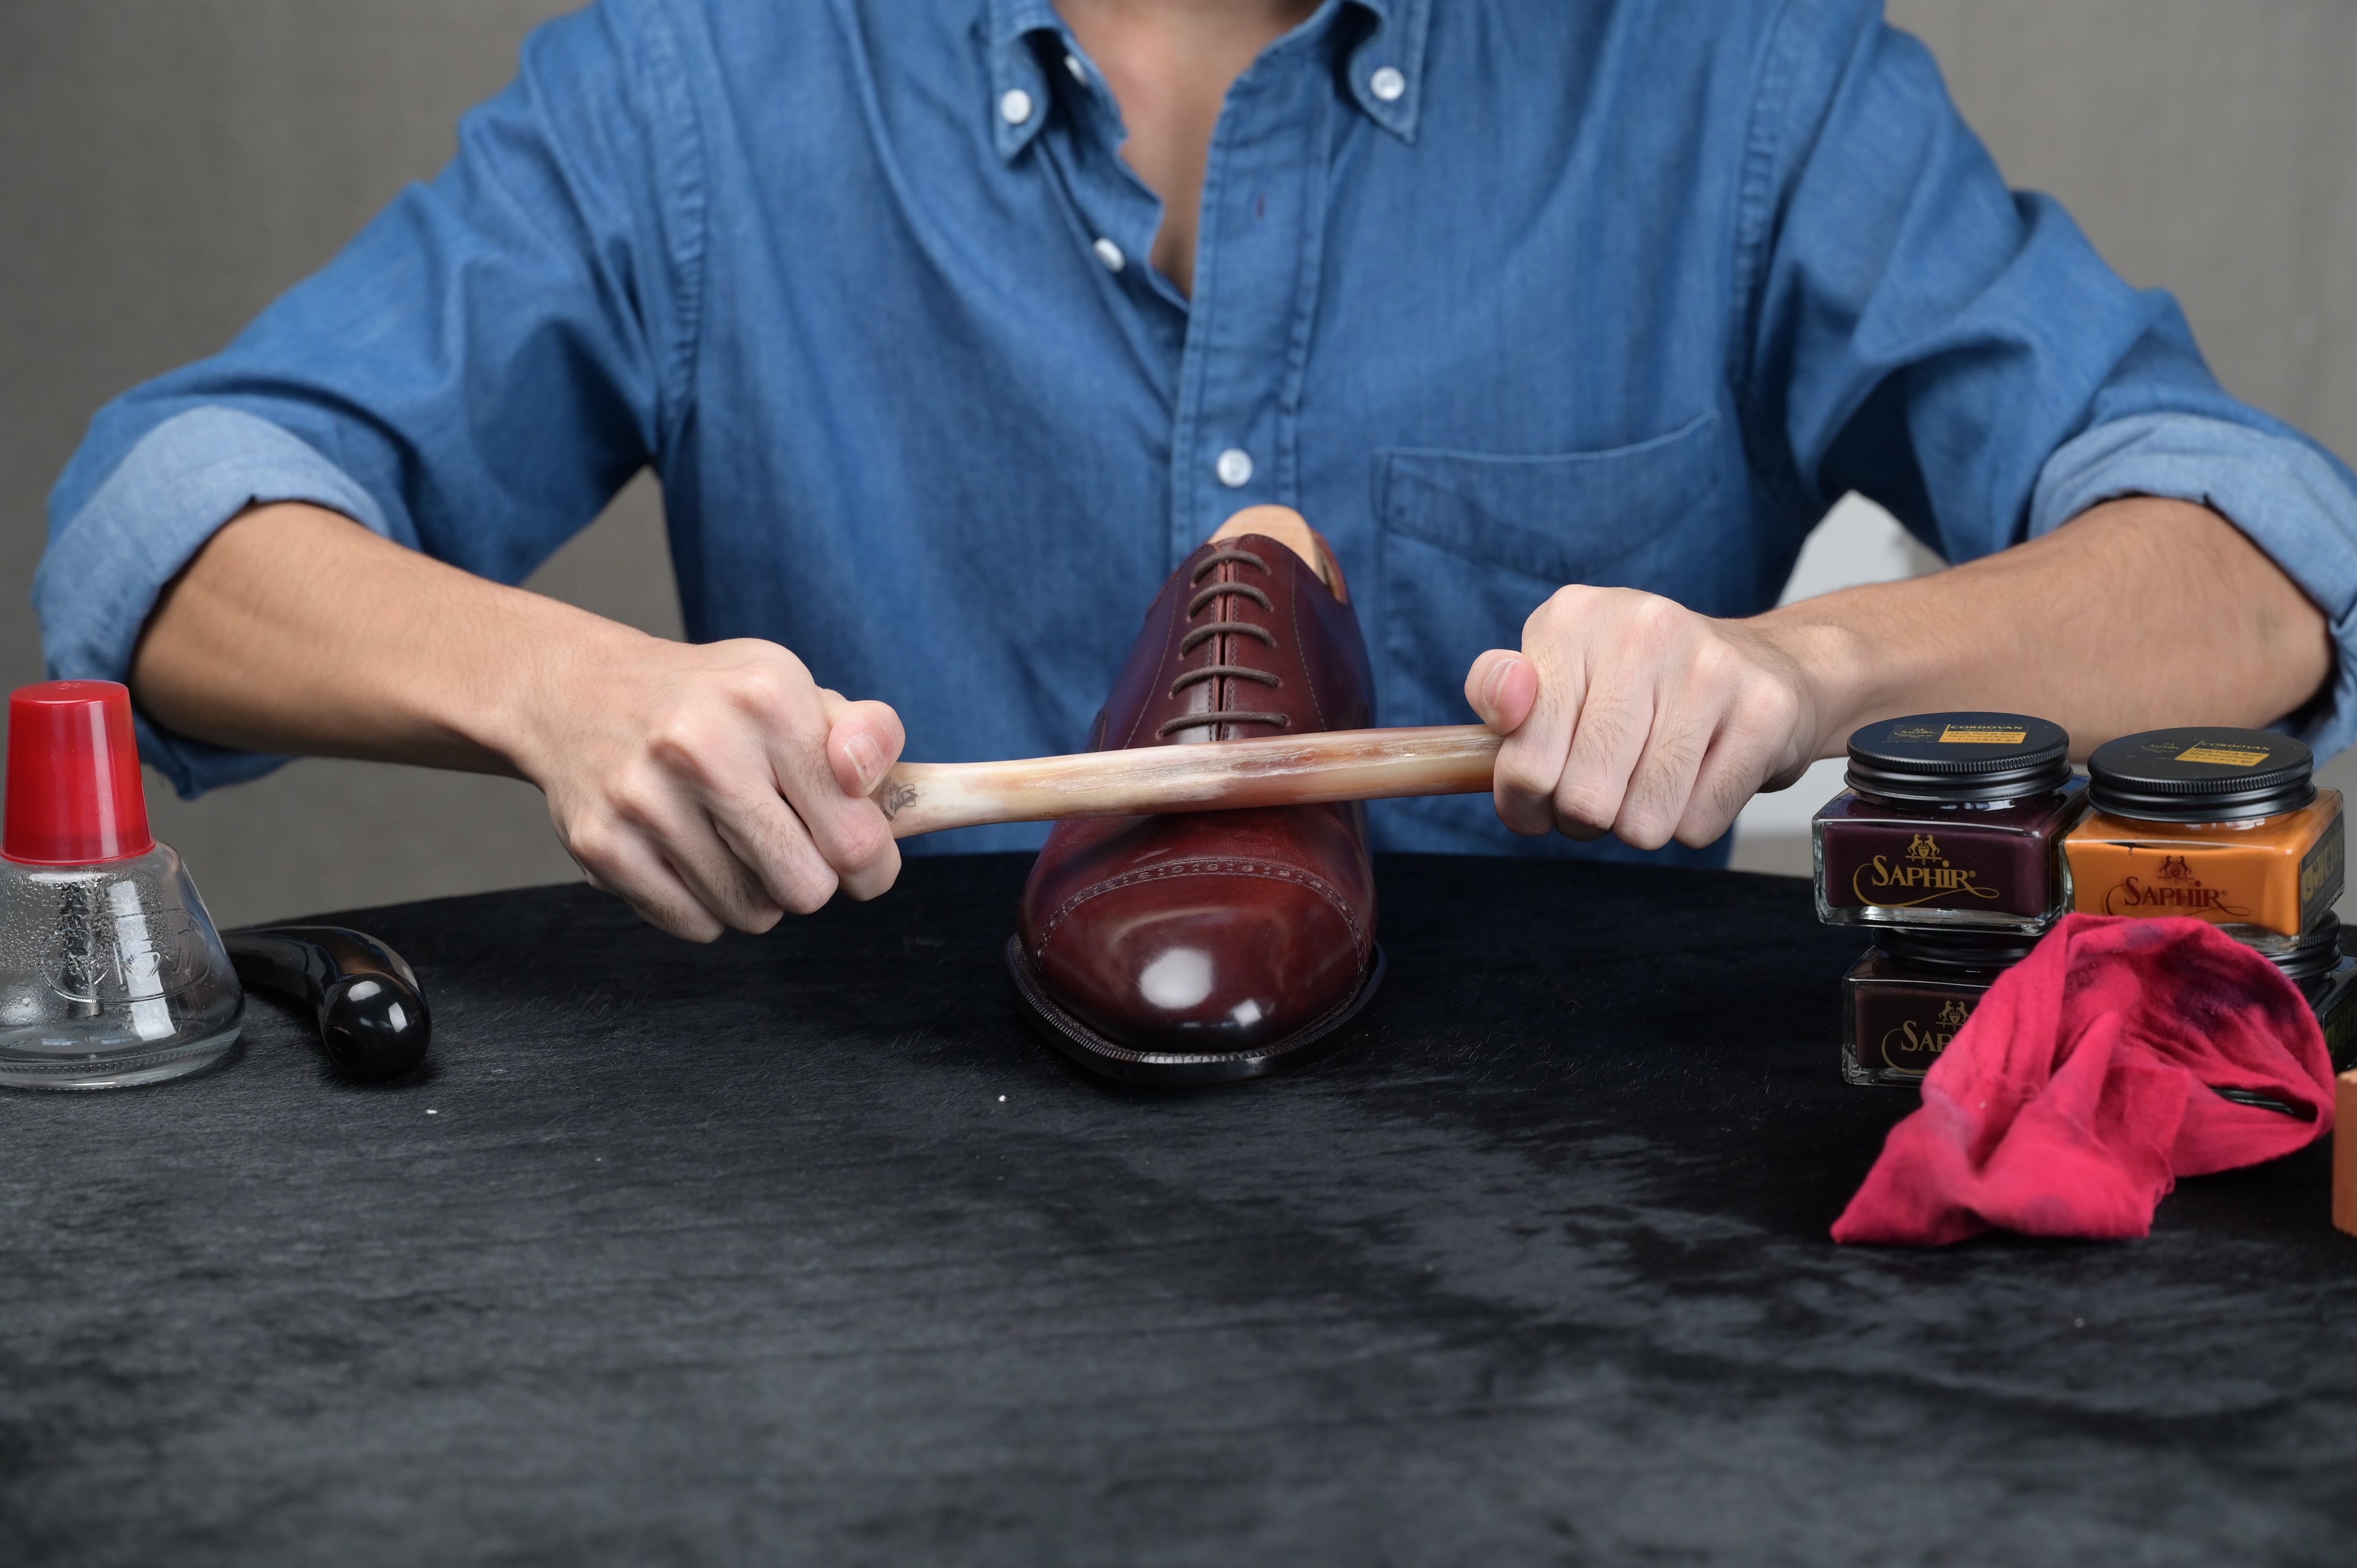
Step 2: Smoothen out the creases
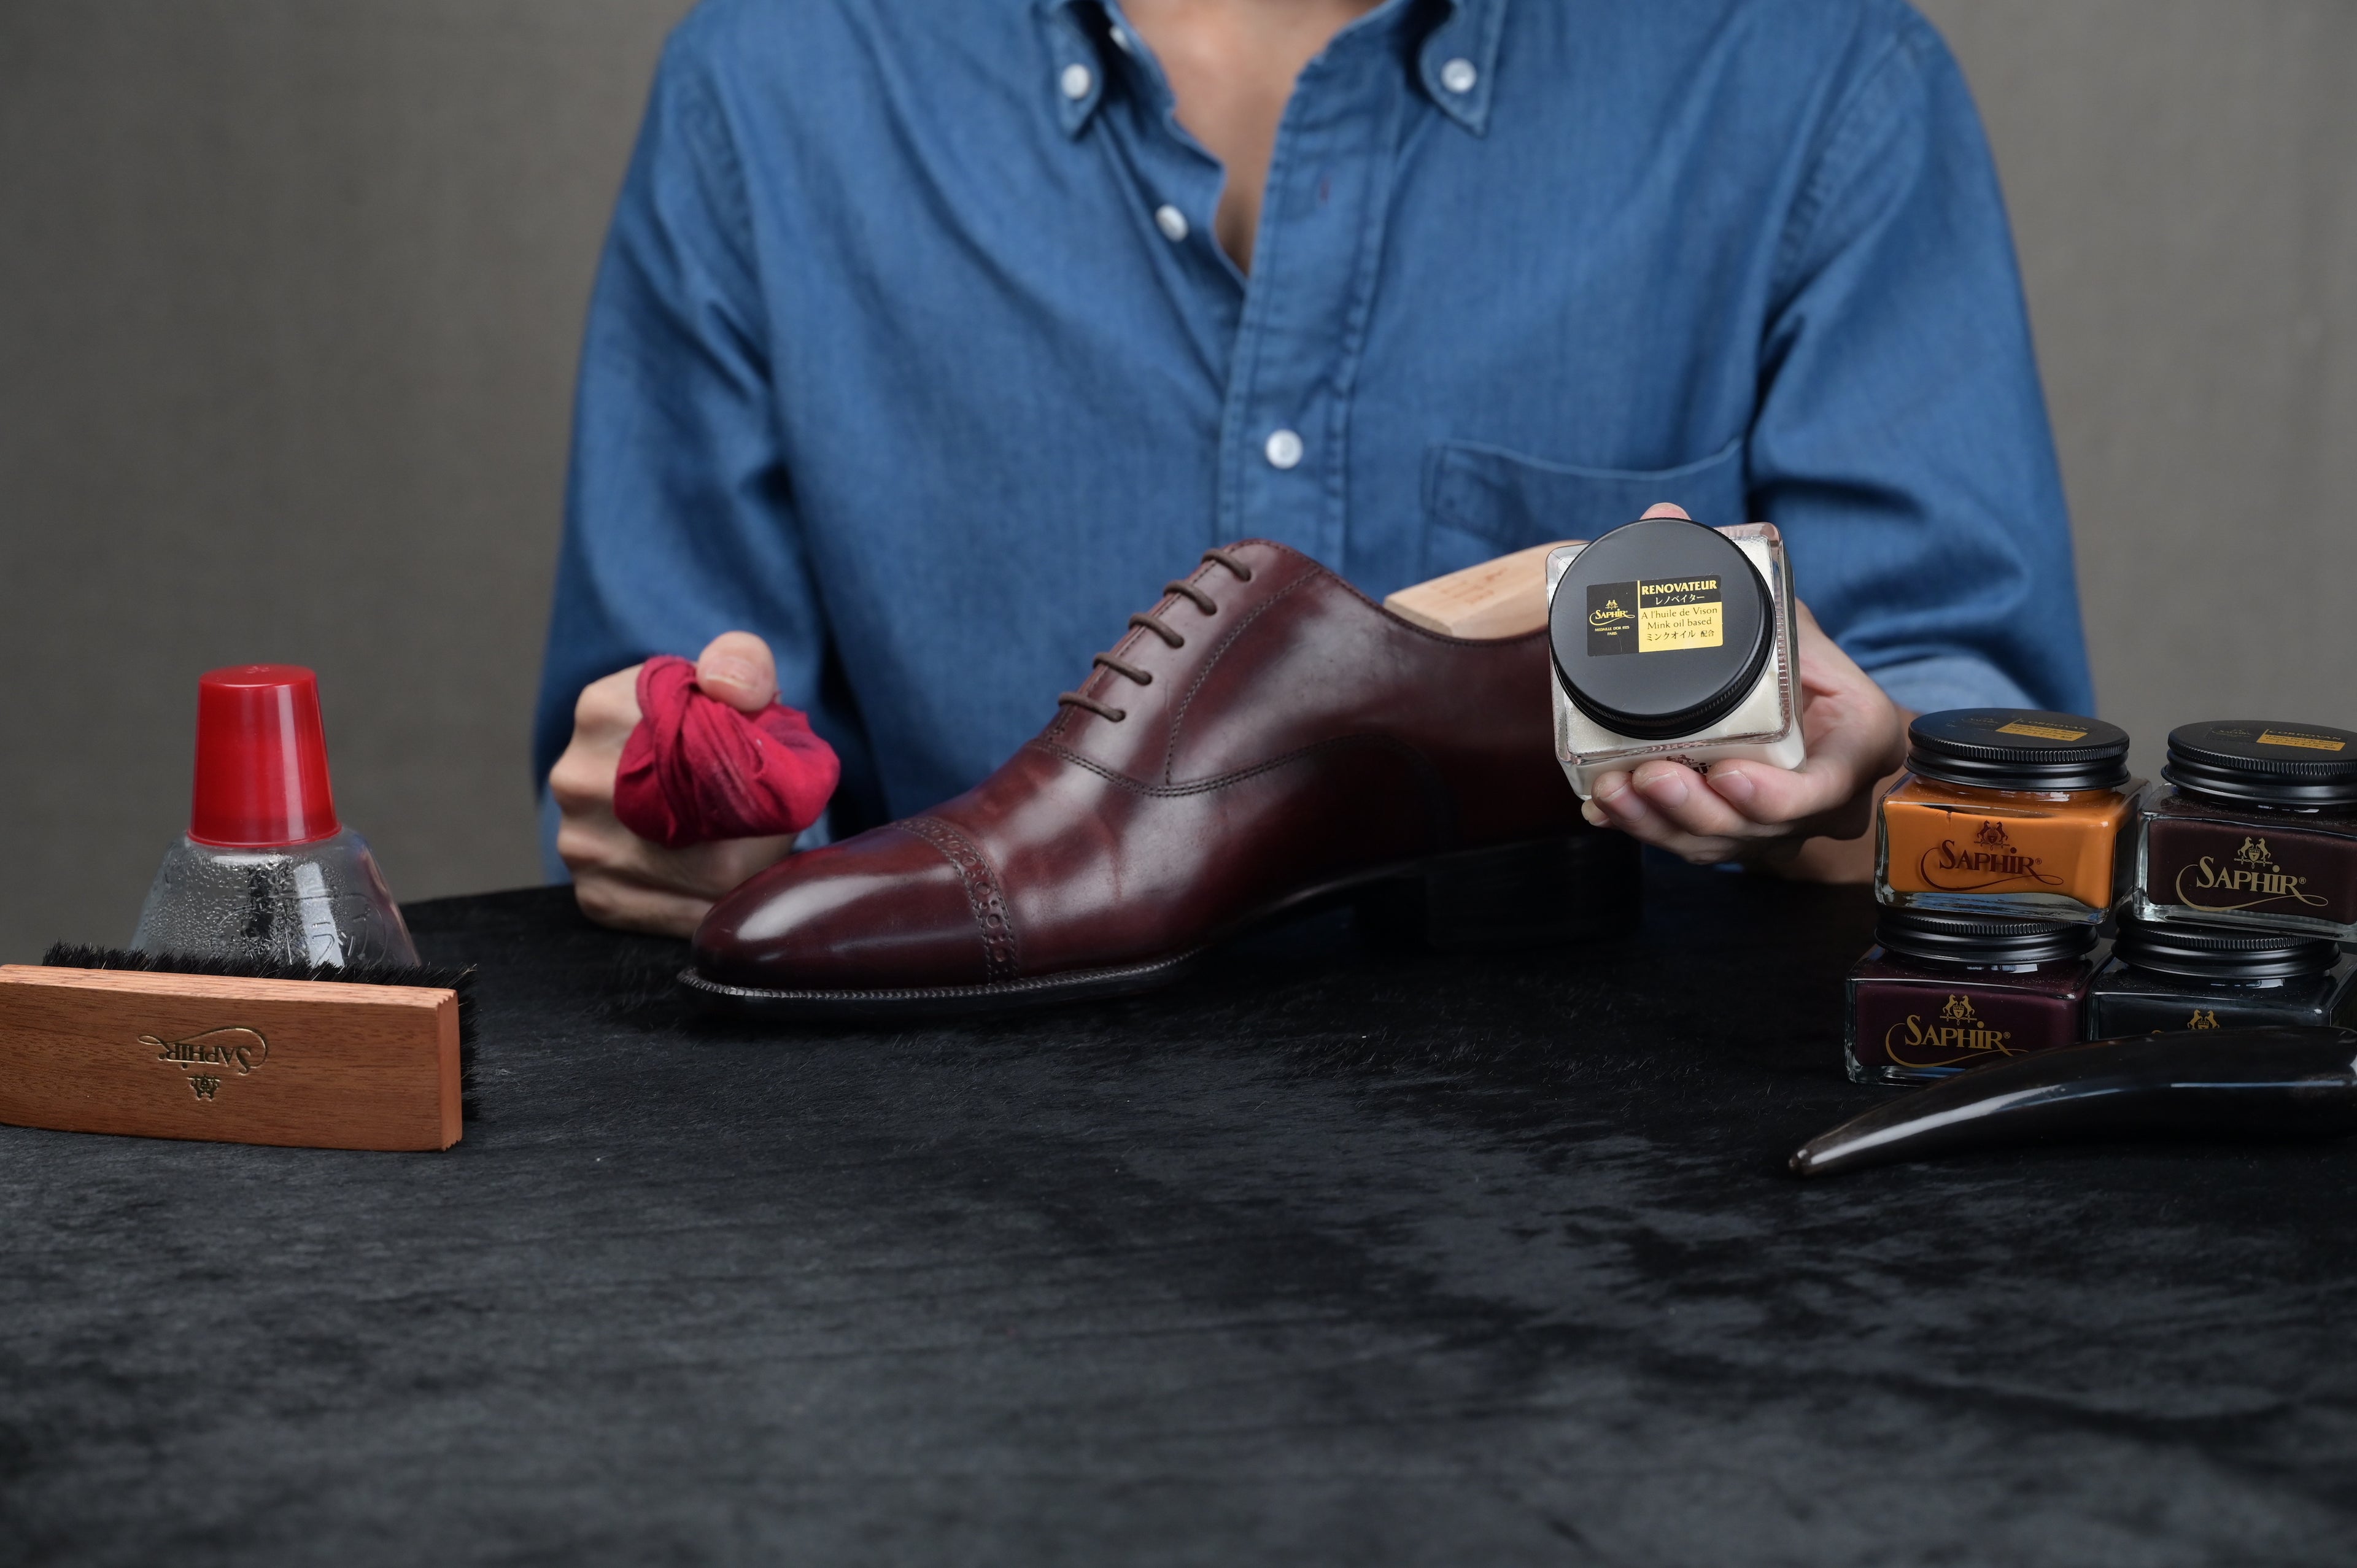
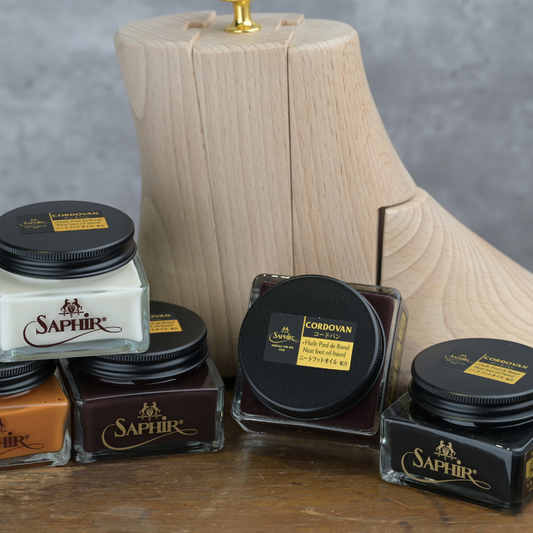
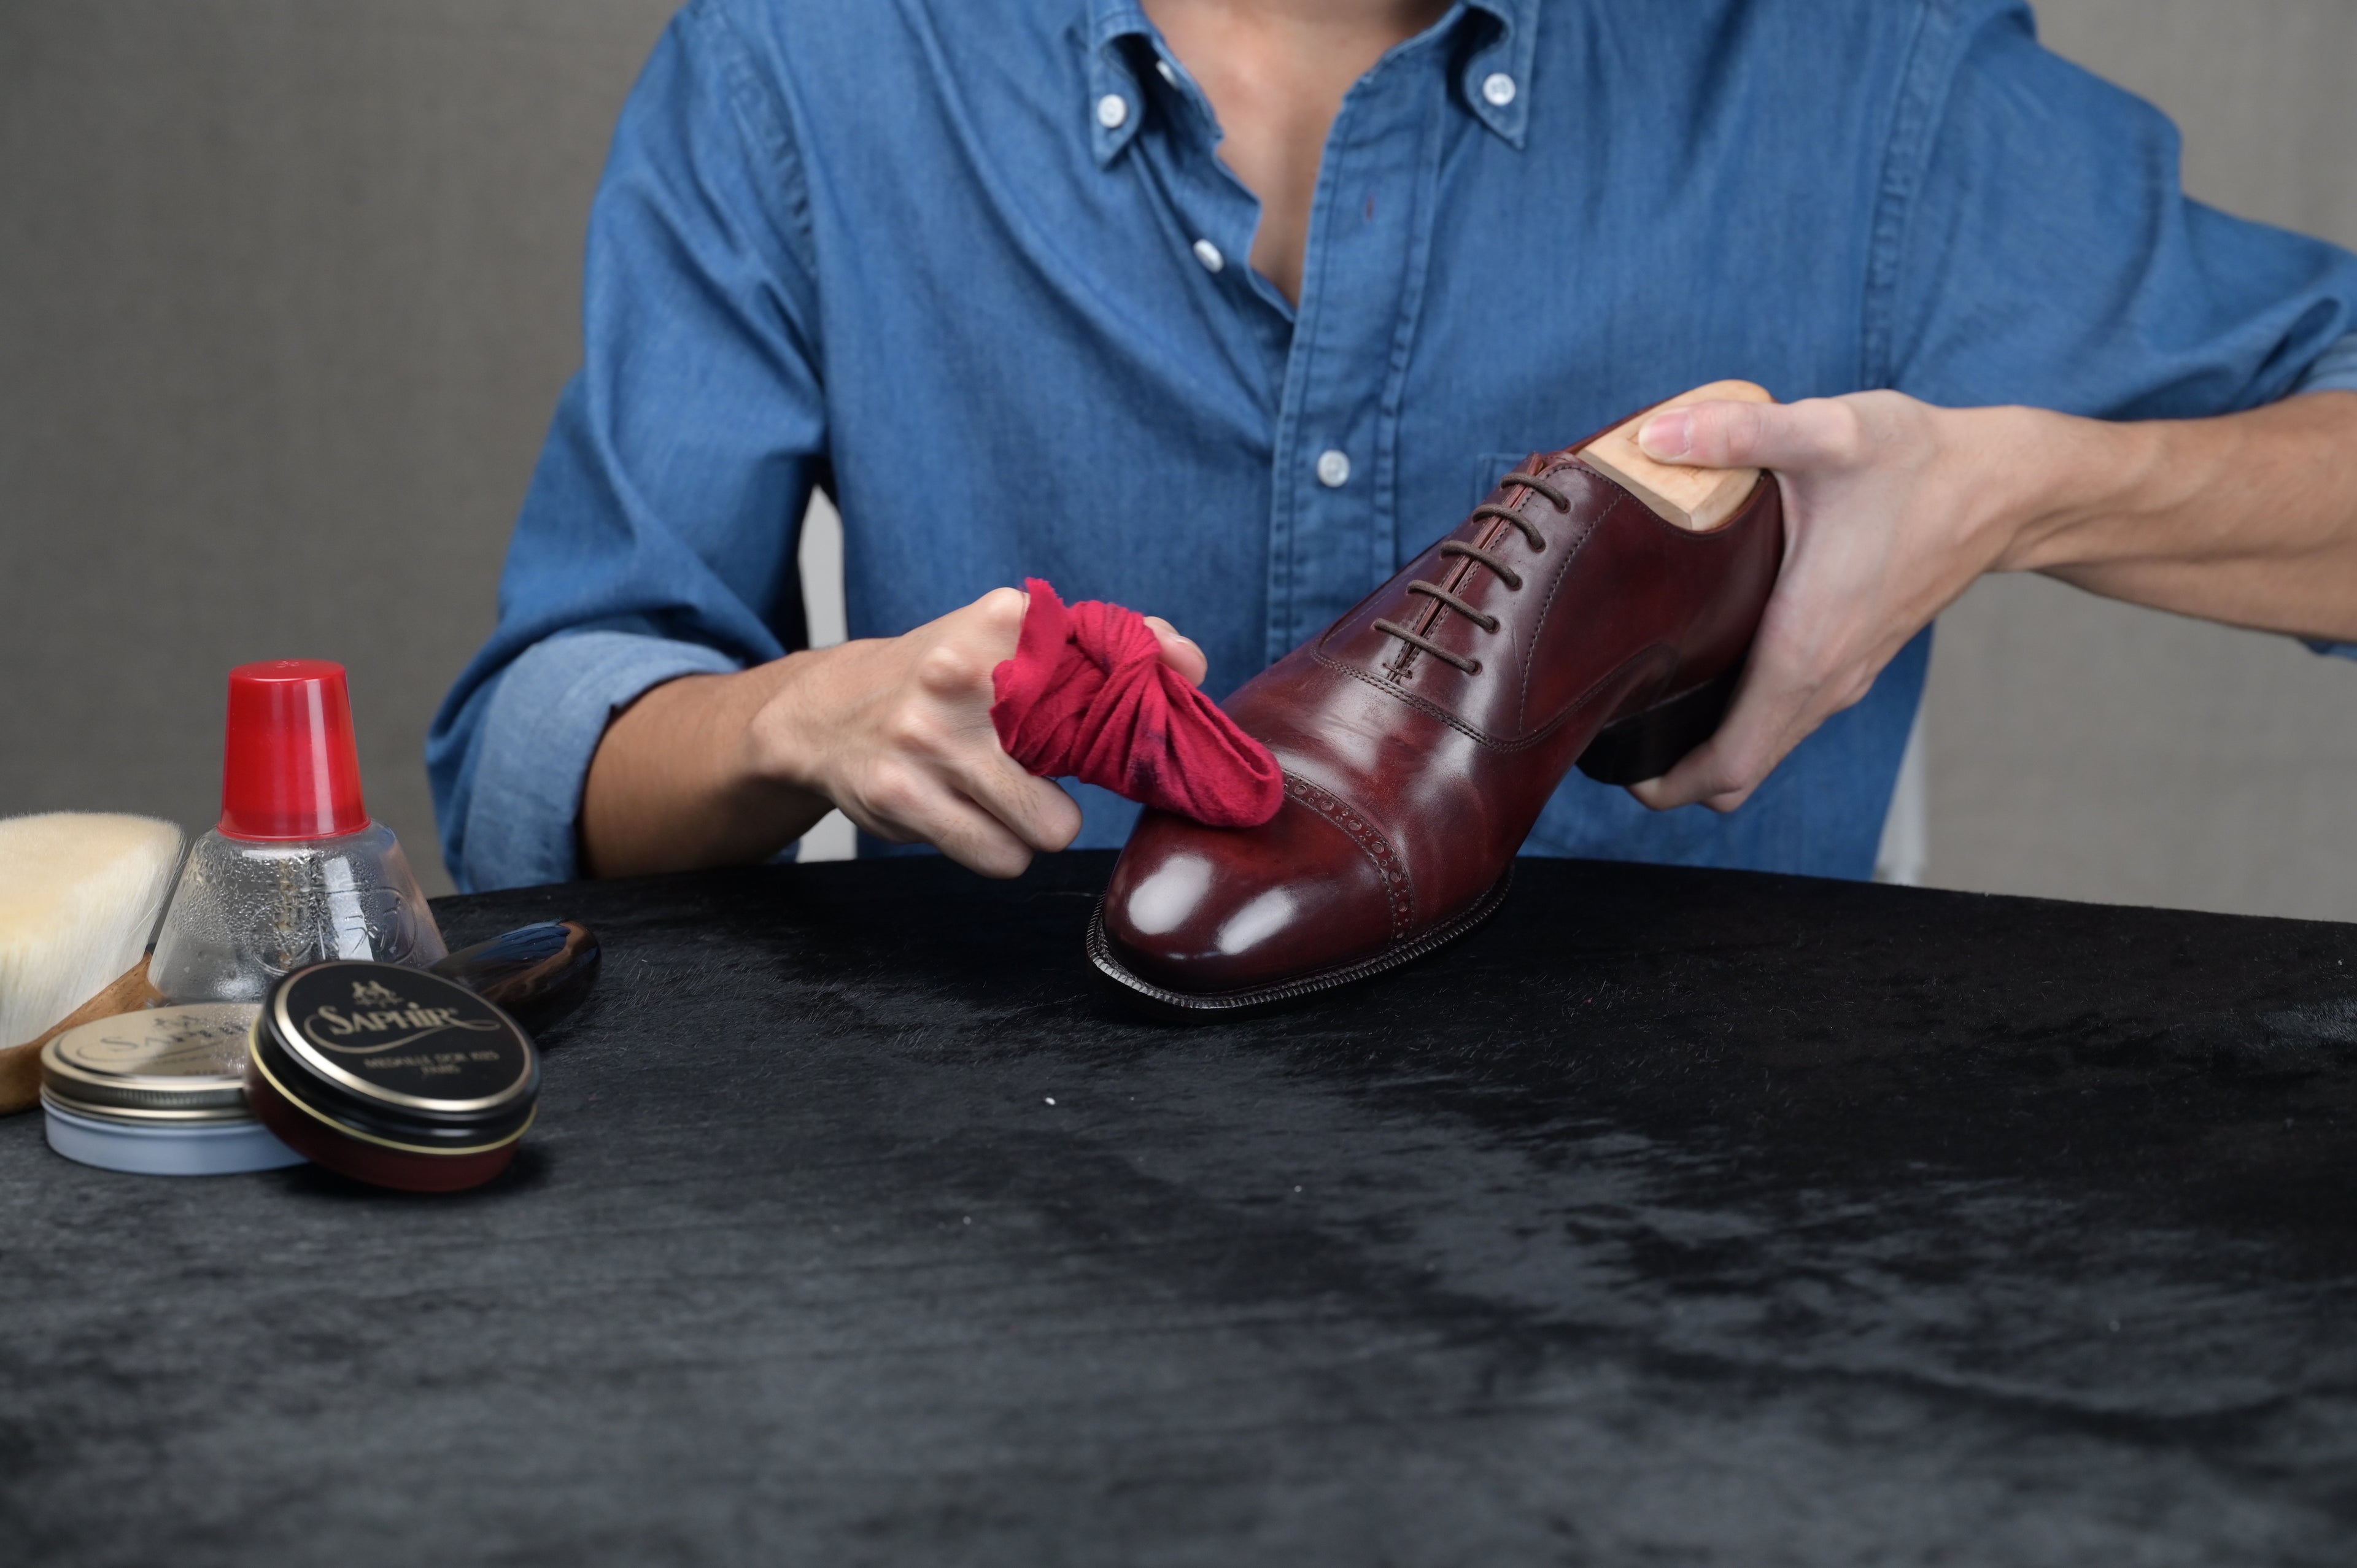
Step 3: Apply Renovateur Cream
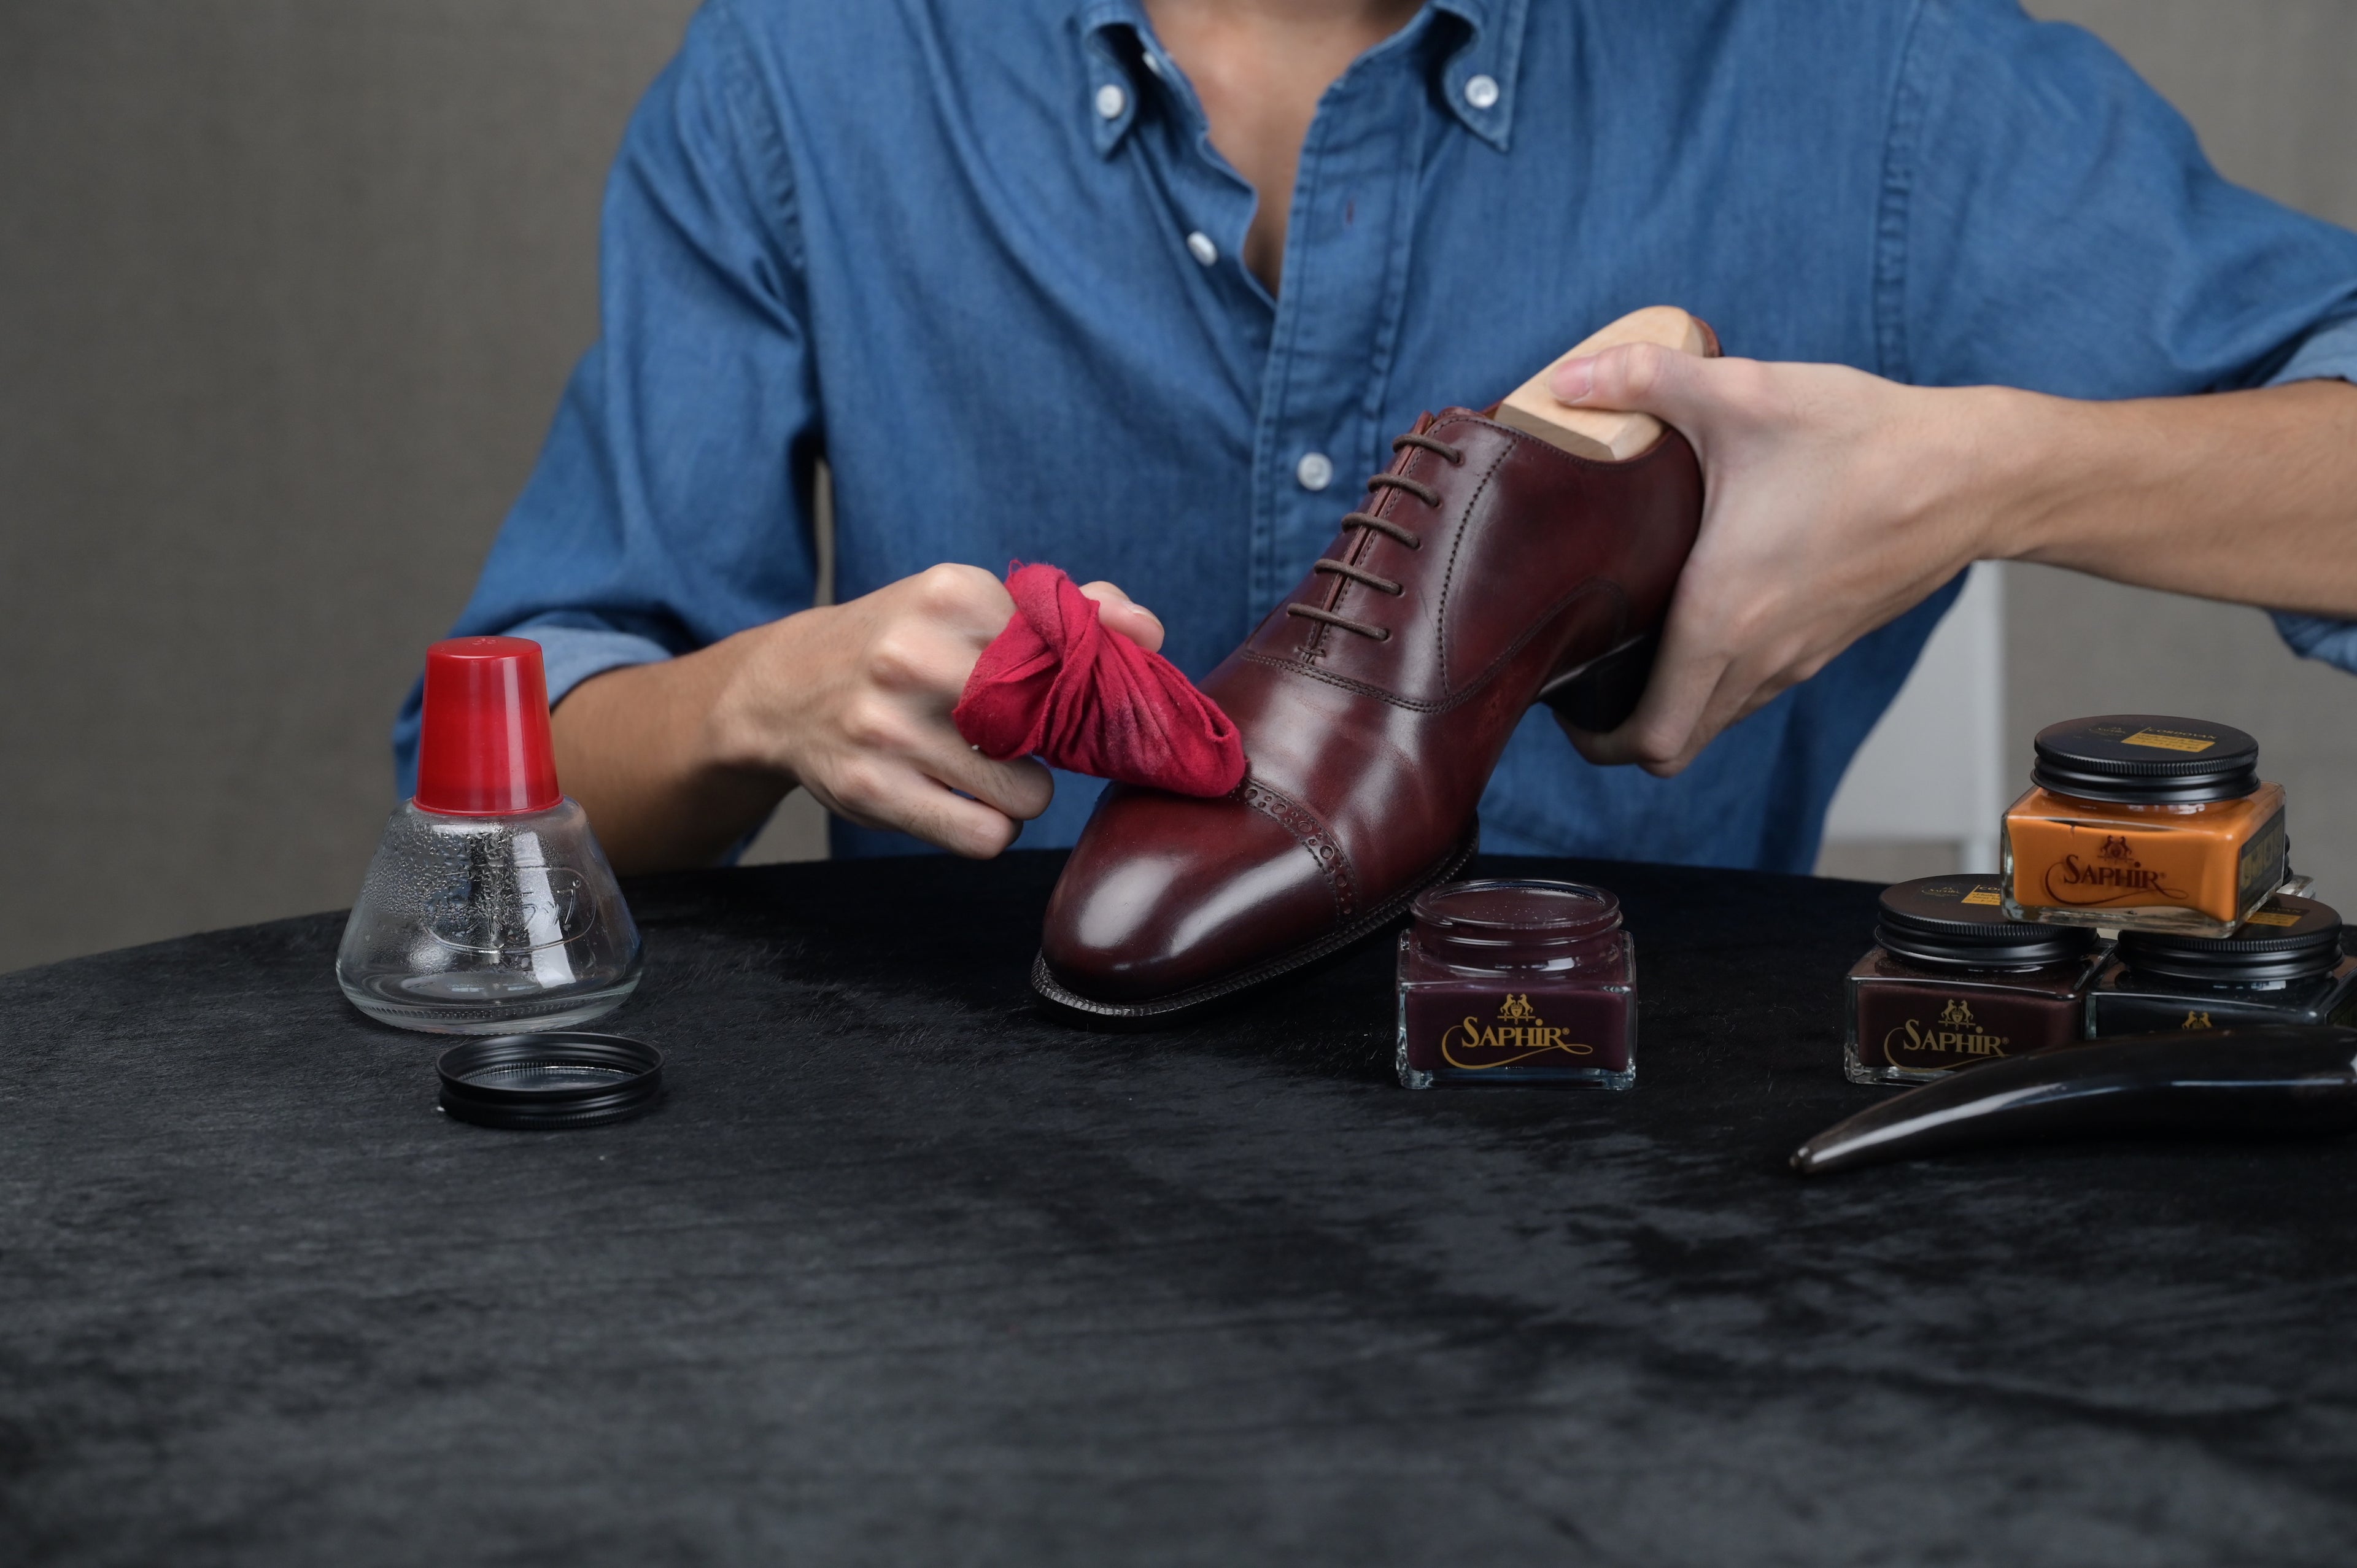
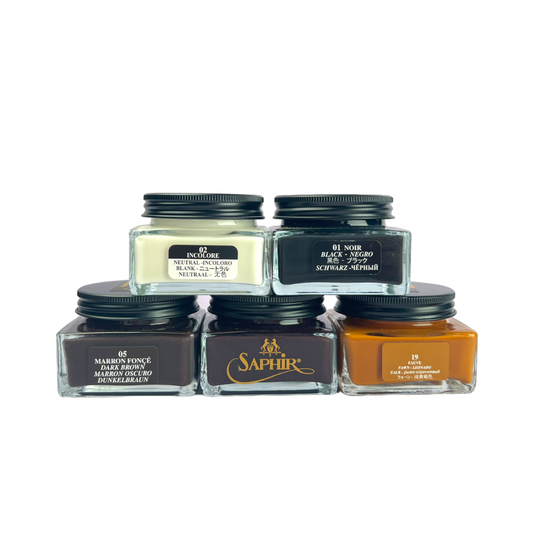
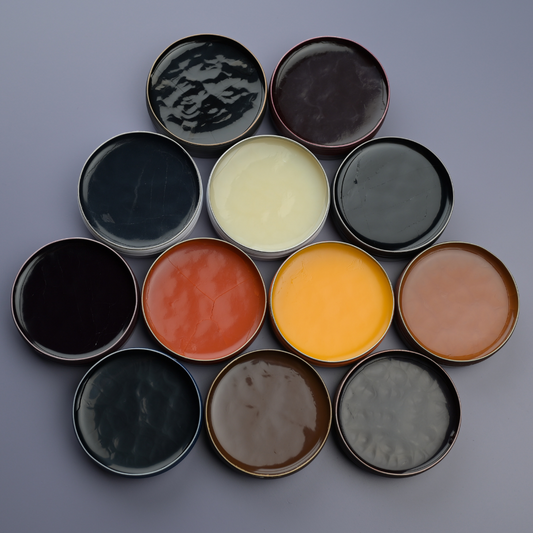
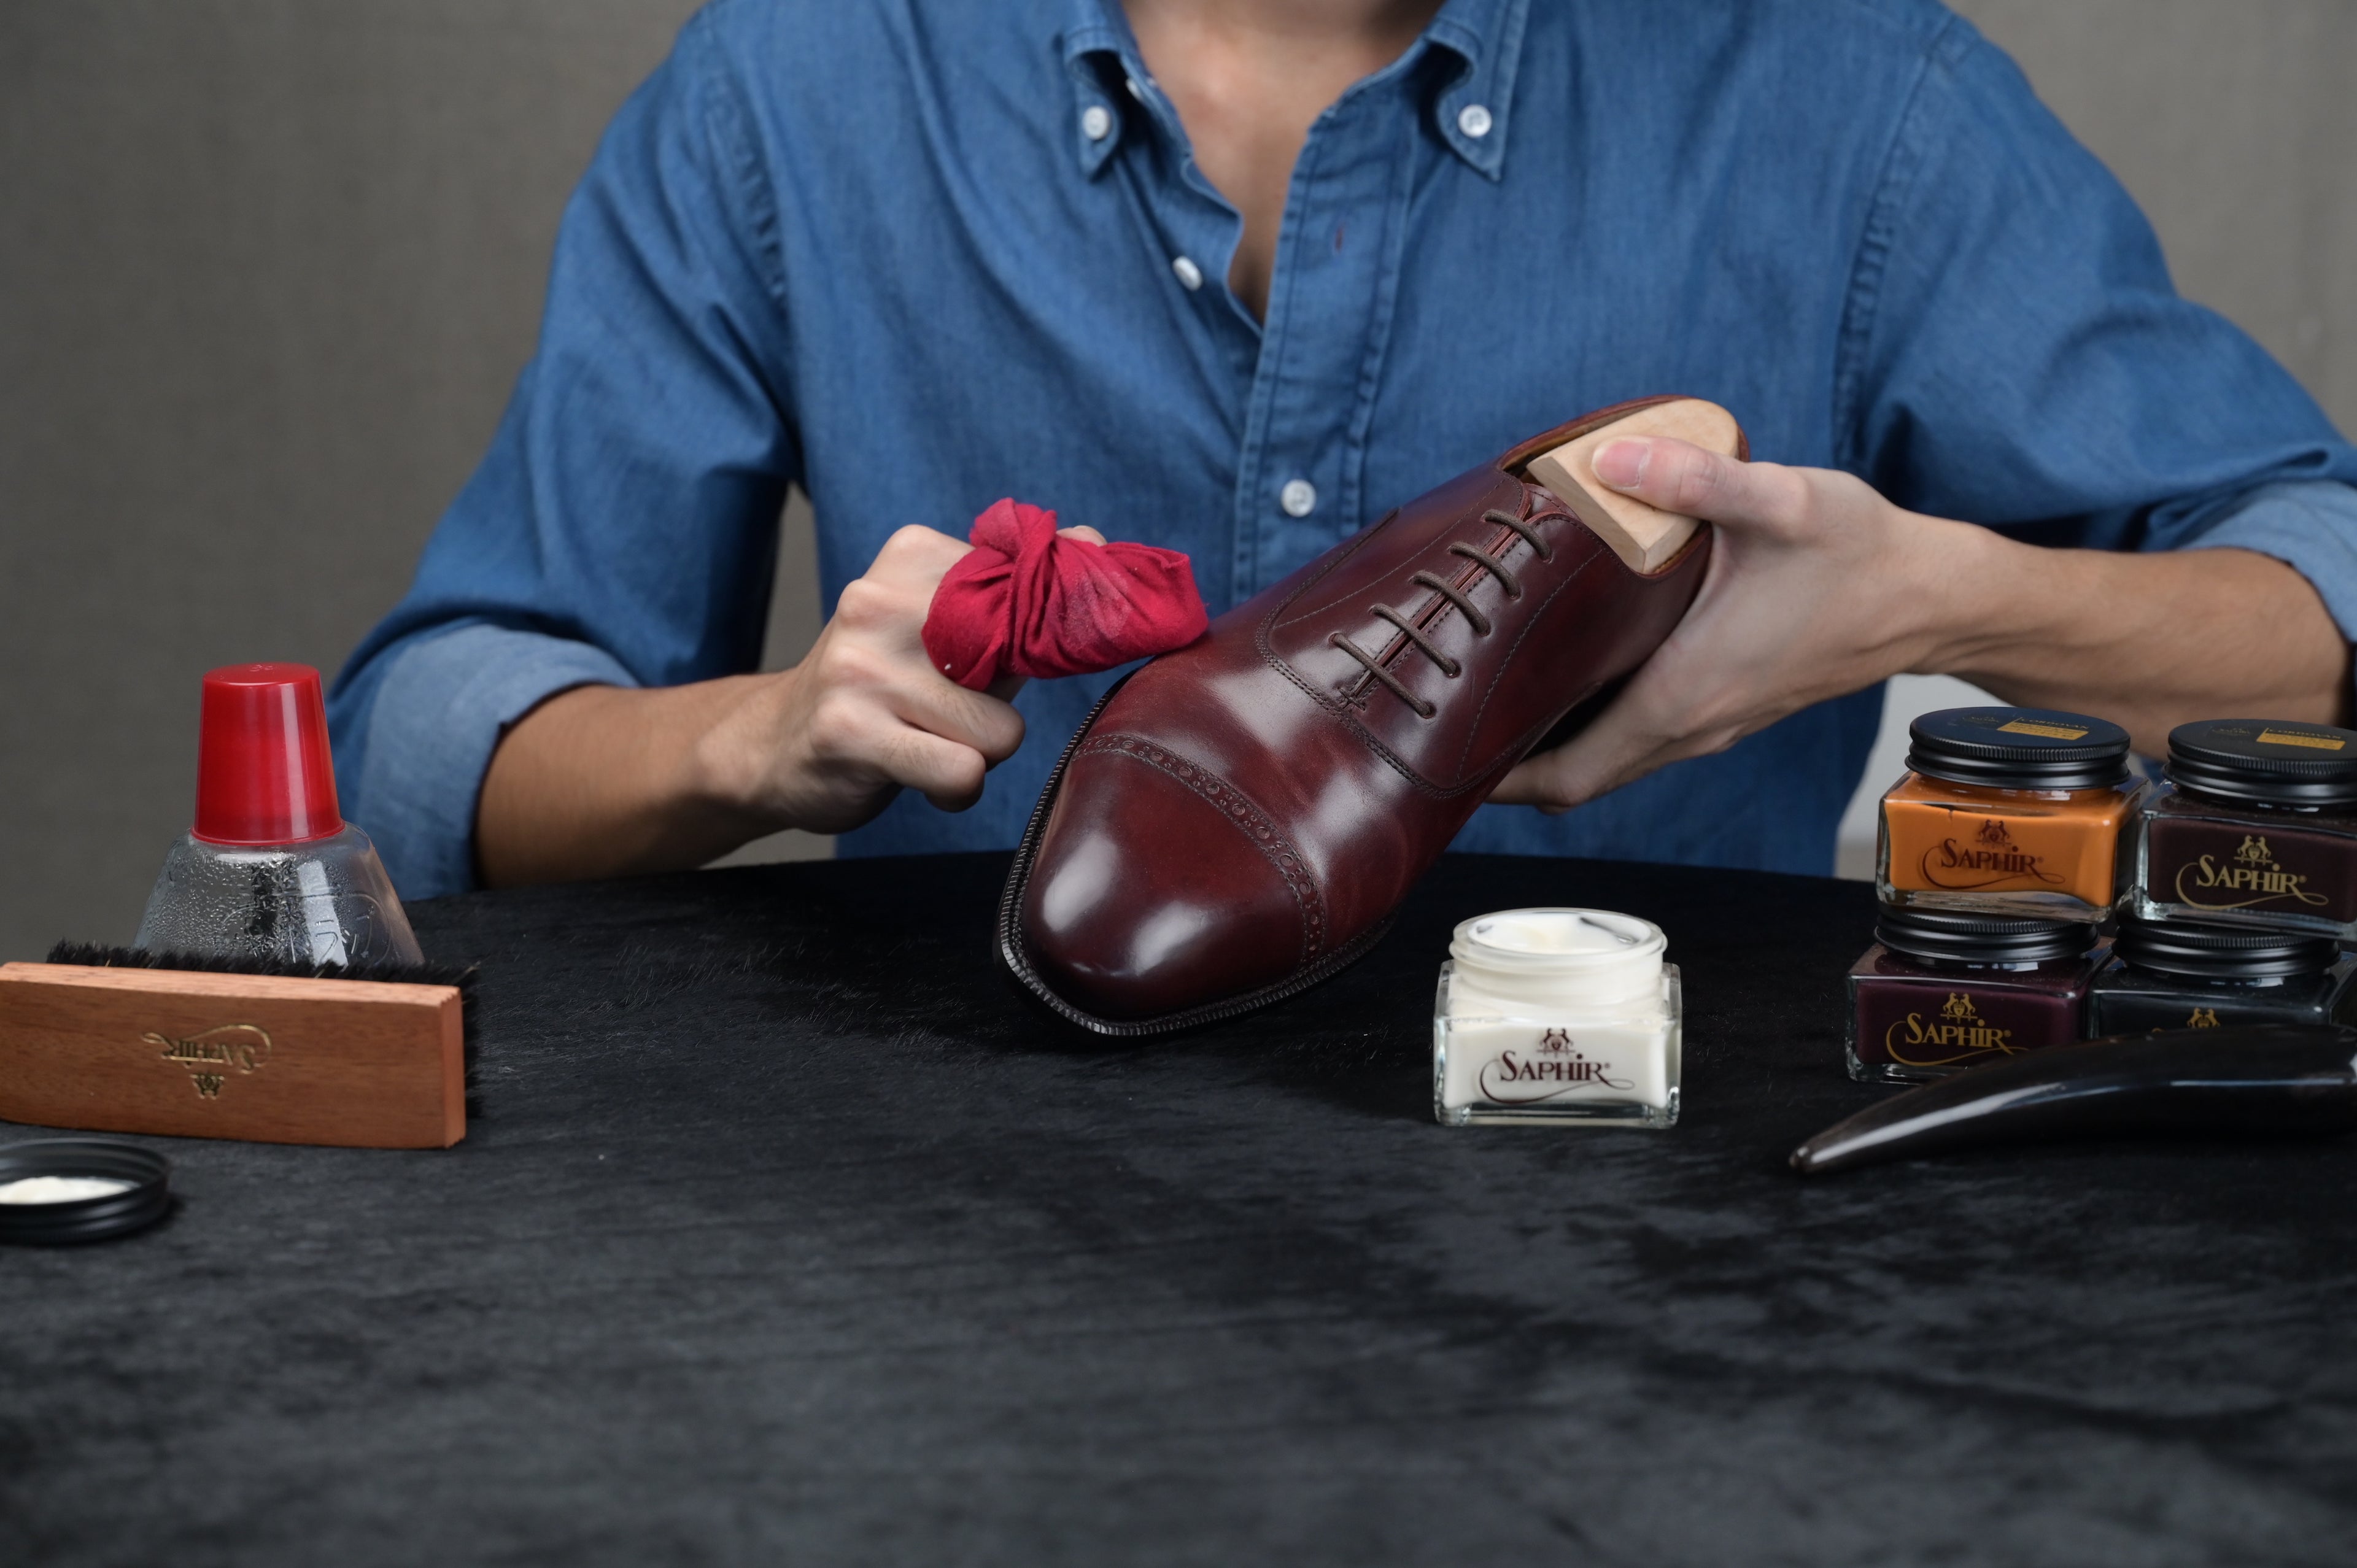
Step 4: Apply Cordovan Cream
Step 5: Building the base layer
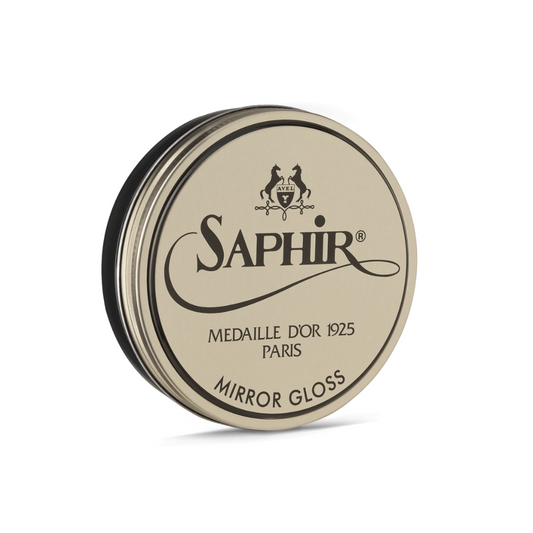
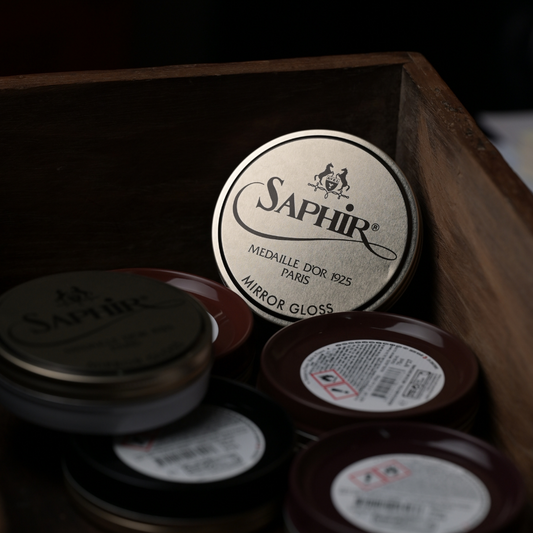
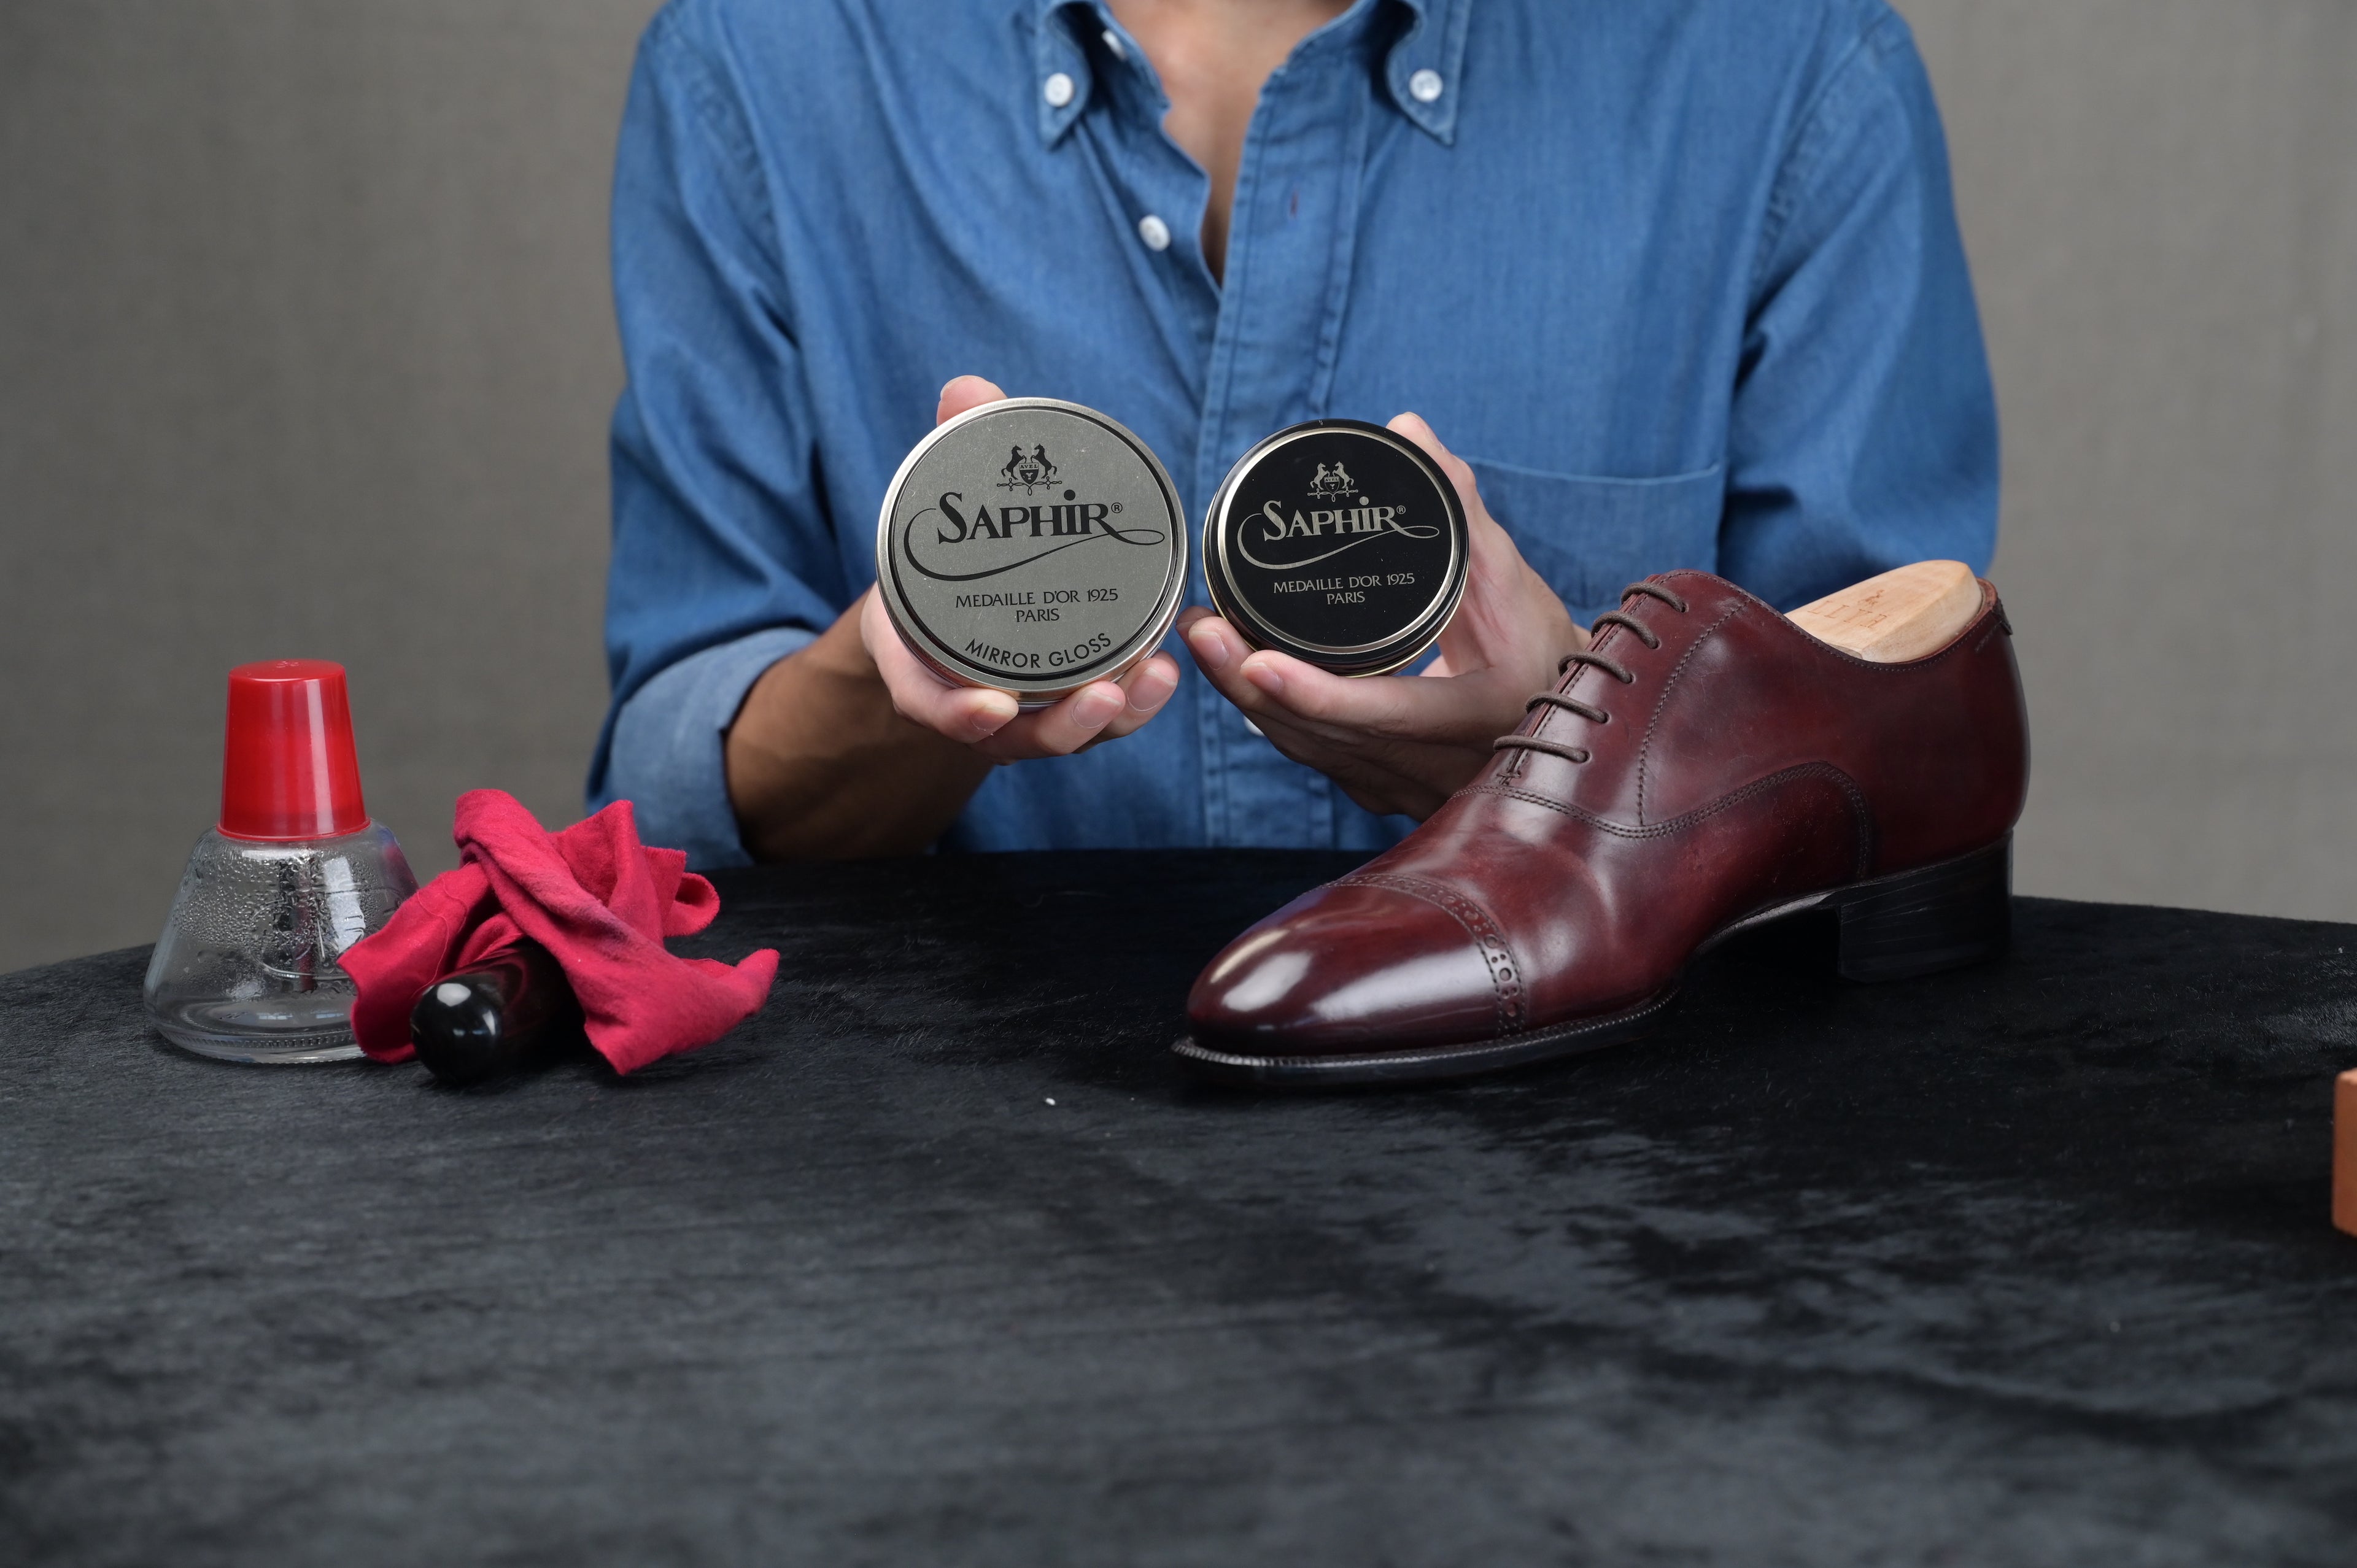
Step 6: Mirror Gloss

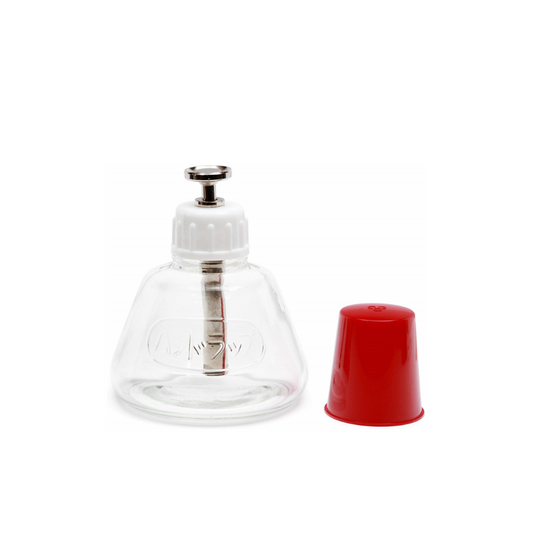
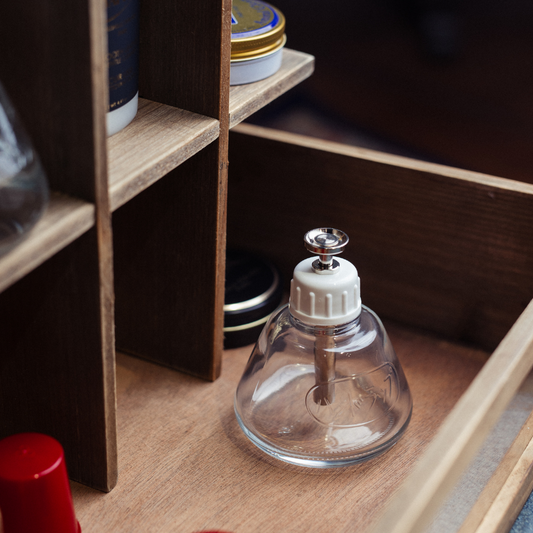
Step 7: Wax, Cloth & Water

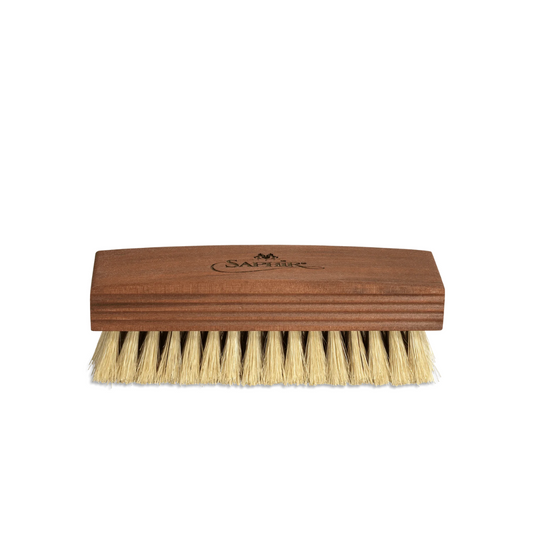
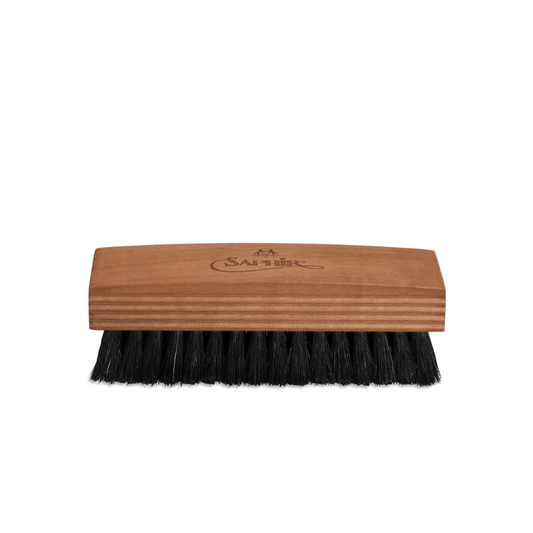
Step 8: Brush With a Goat Hair Brush
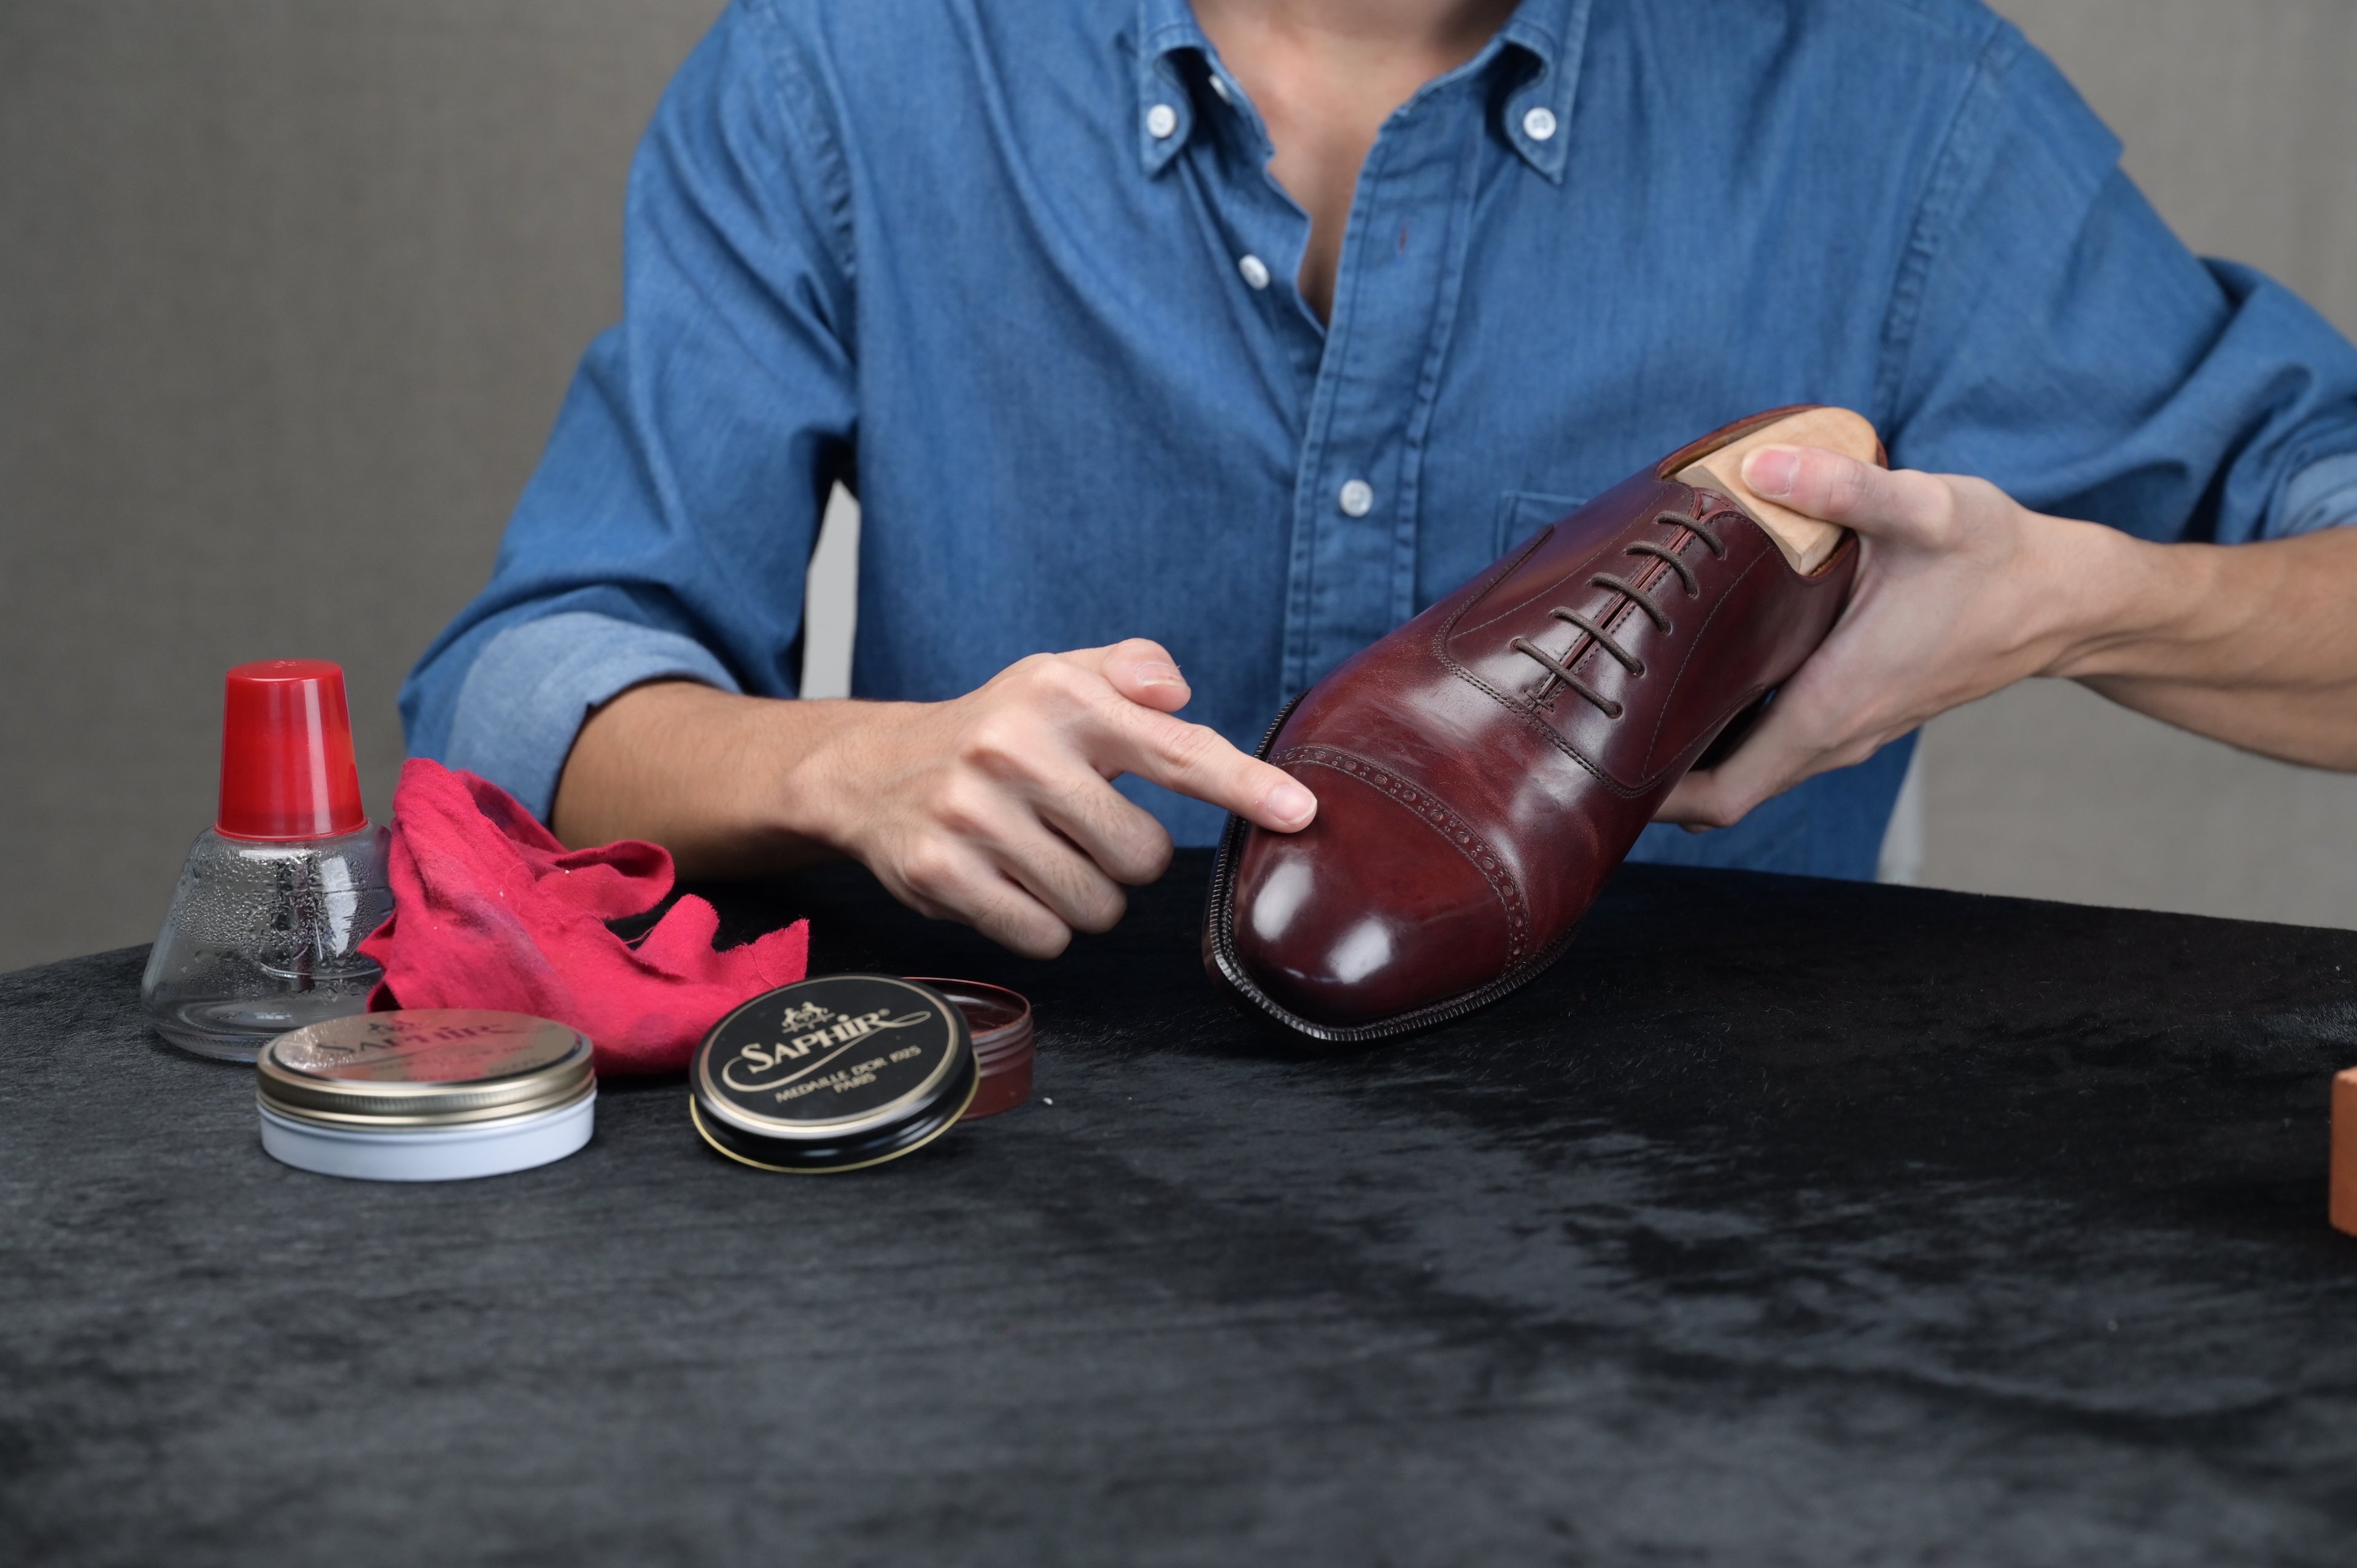
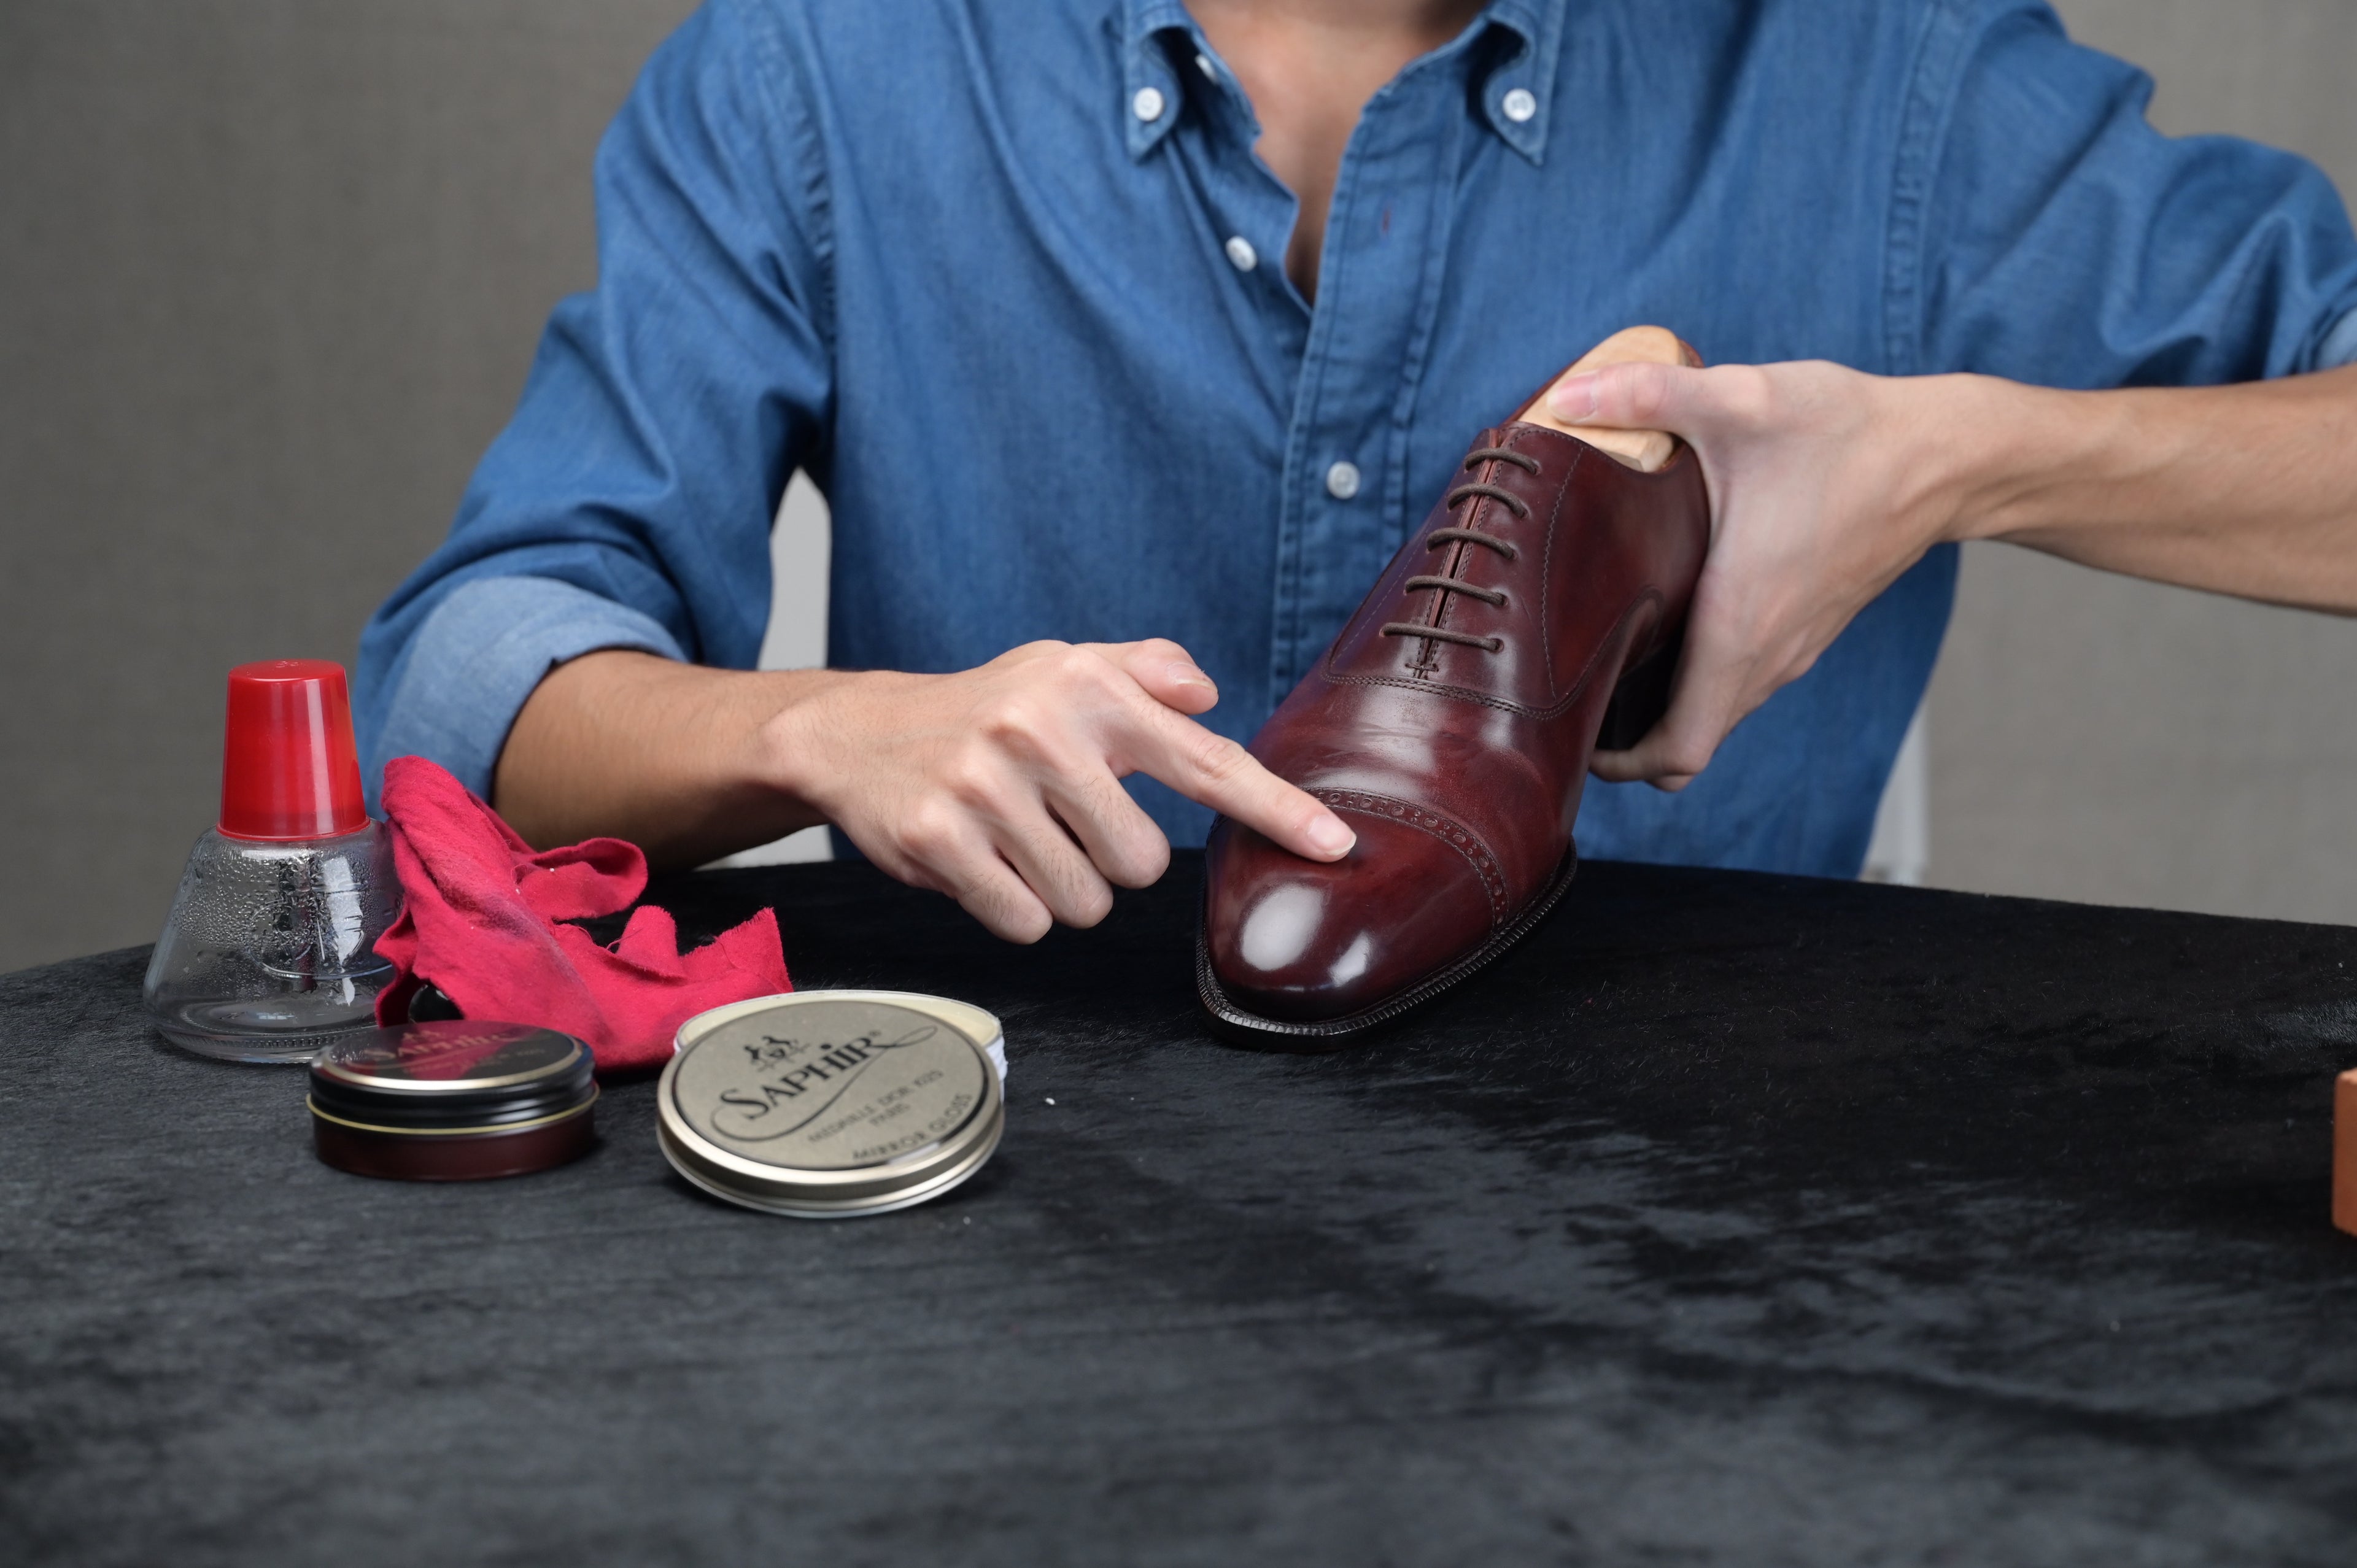
Step 9: Finish off the Glacage
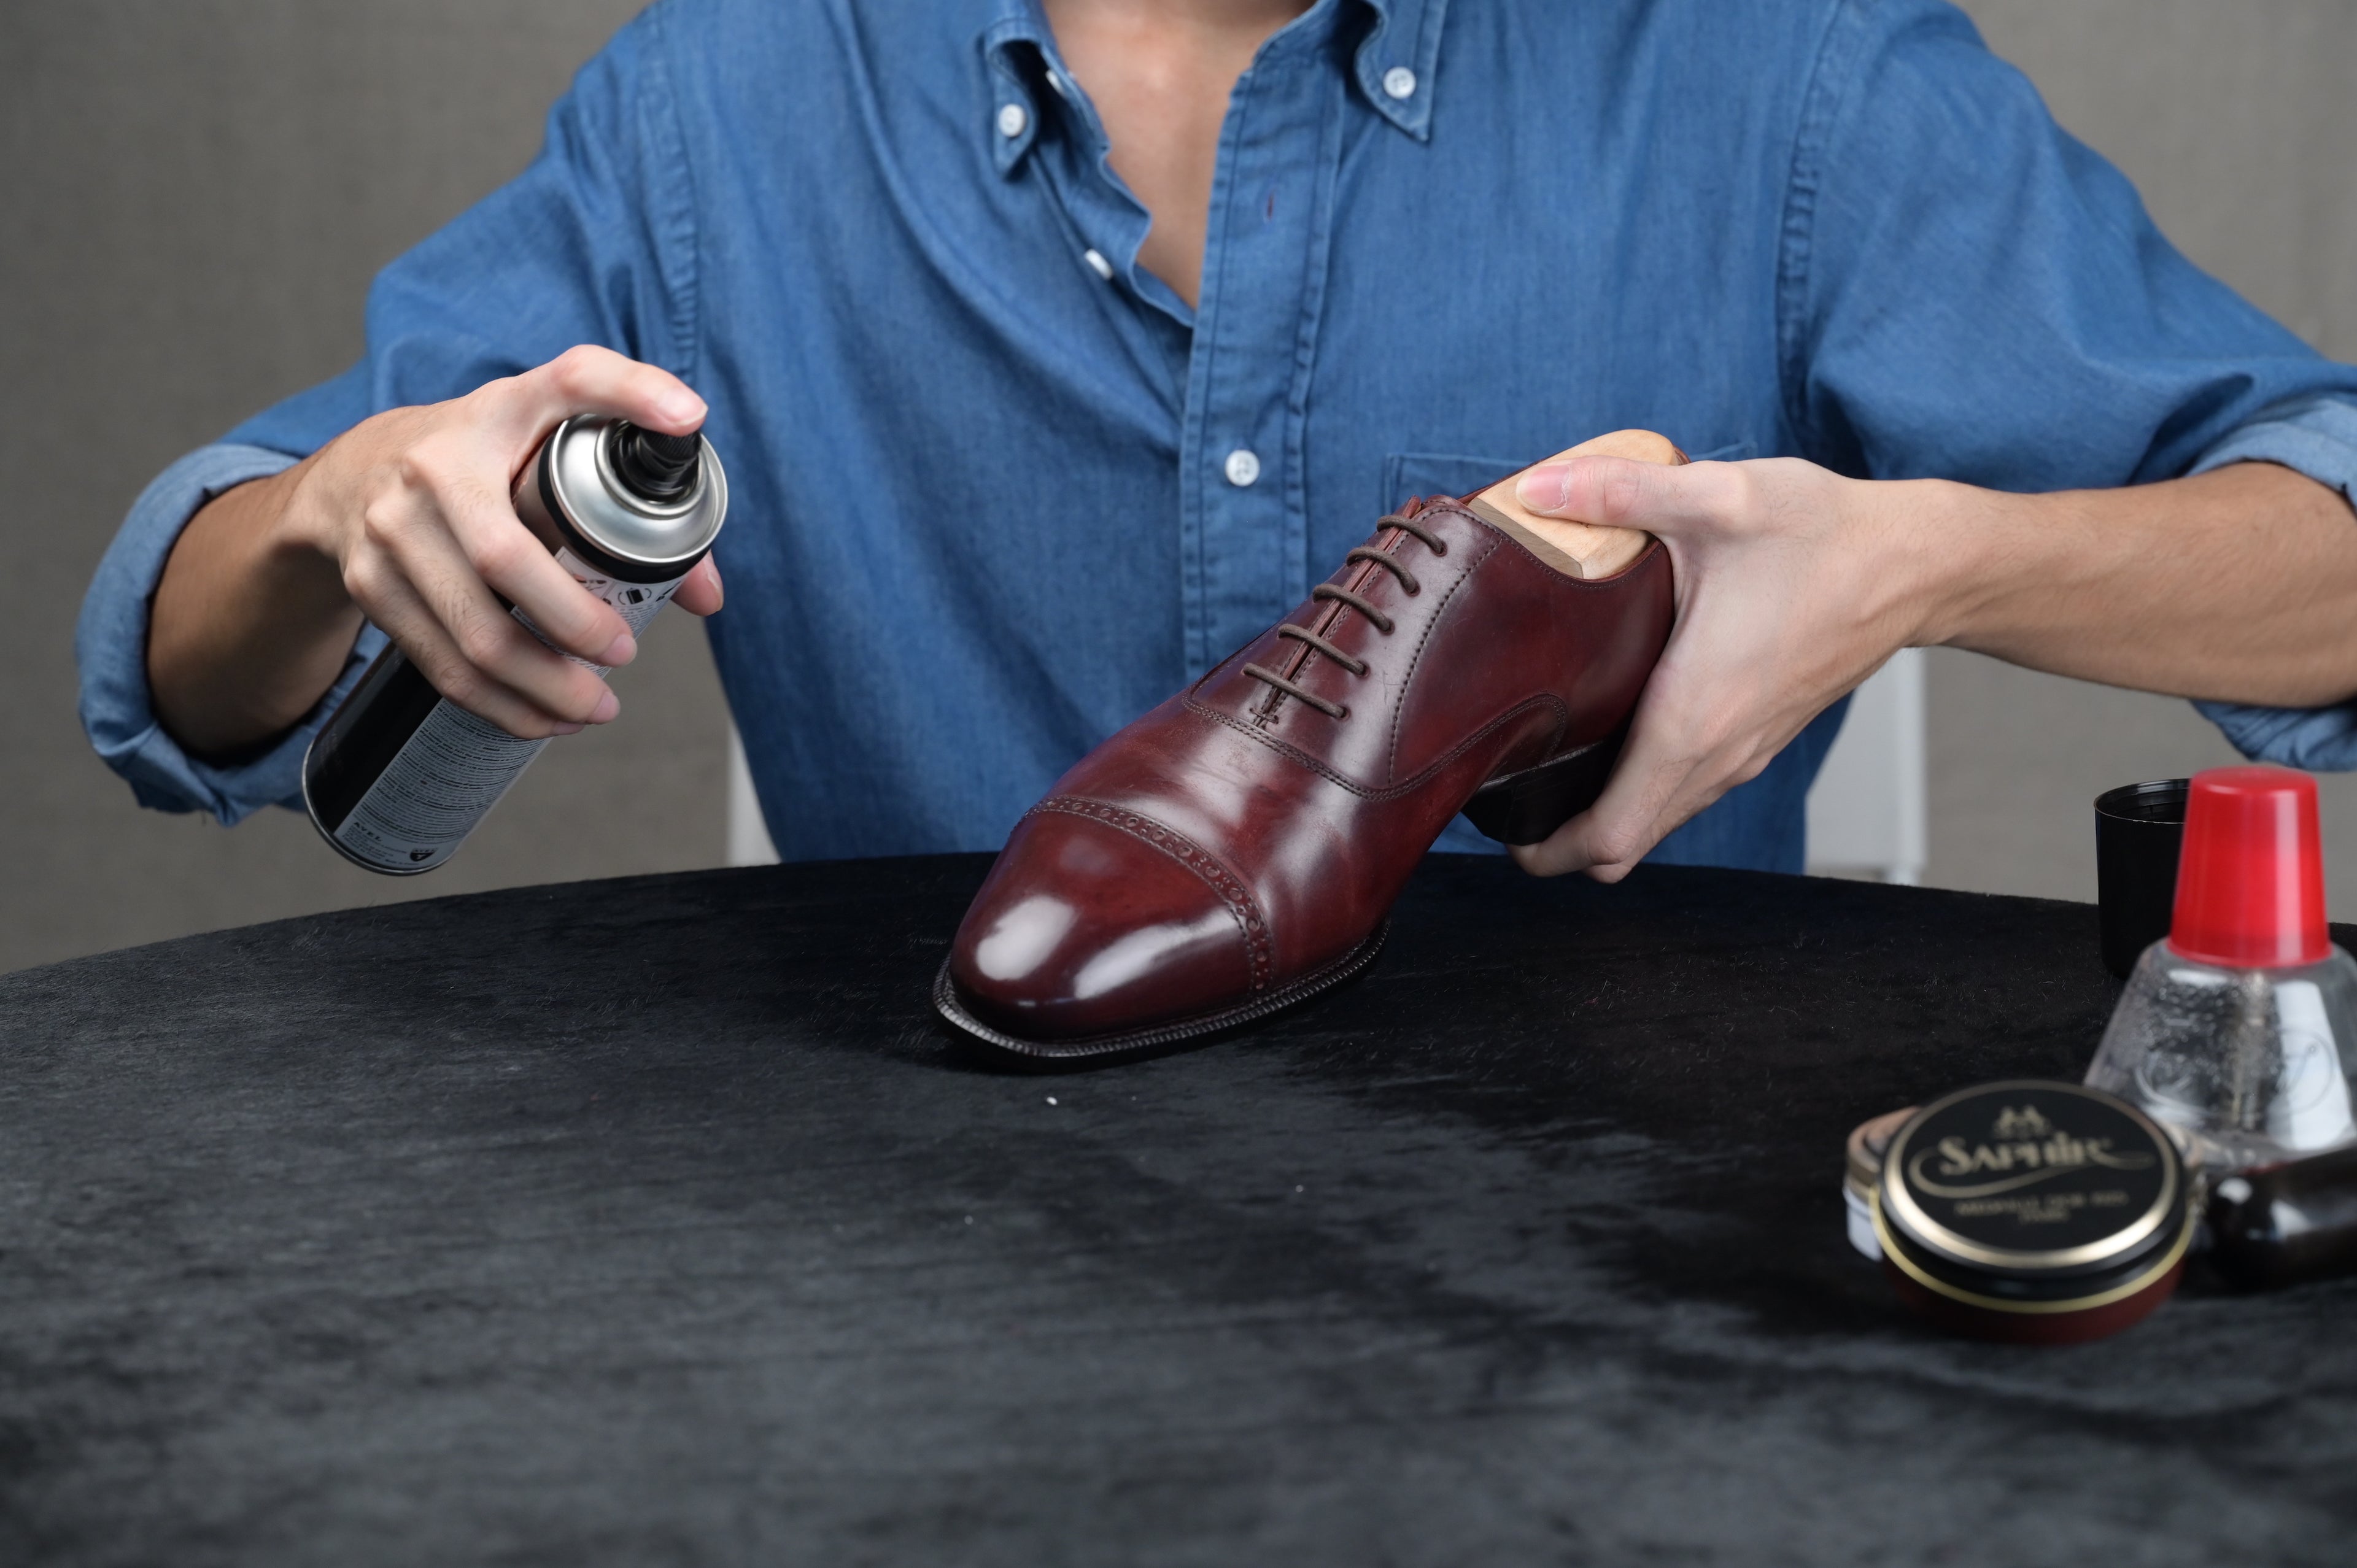
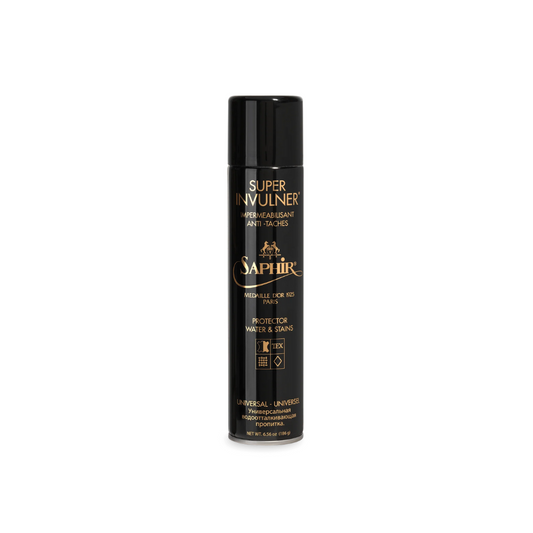
Step 10: Protect & Waterproof
Featured Products
-
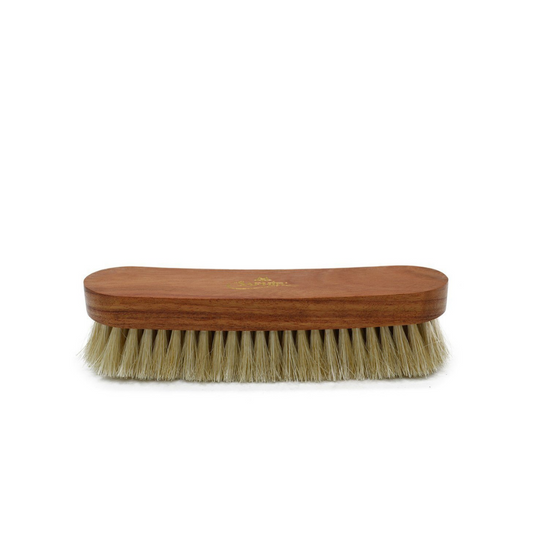
Saphir Médaille d'Or Medium Horse Hair Brush (18cm)
Regular price $70.00 SGDRegular priceUnit price per -
 Sold out
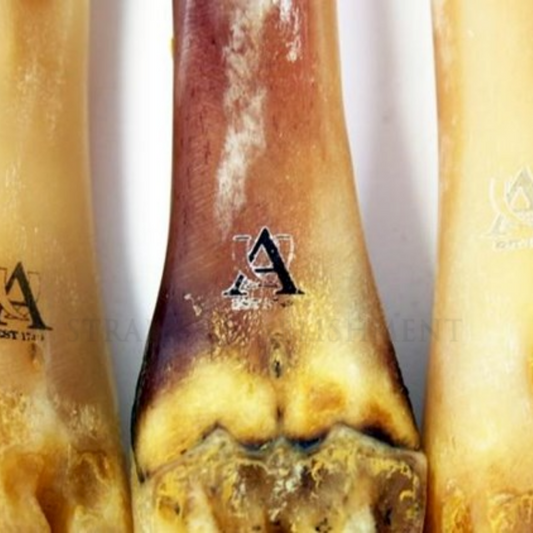
AbbeyHorn Deer Polishing Bone
Regular price $55.00 SGDRegular priceUnit price per -
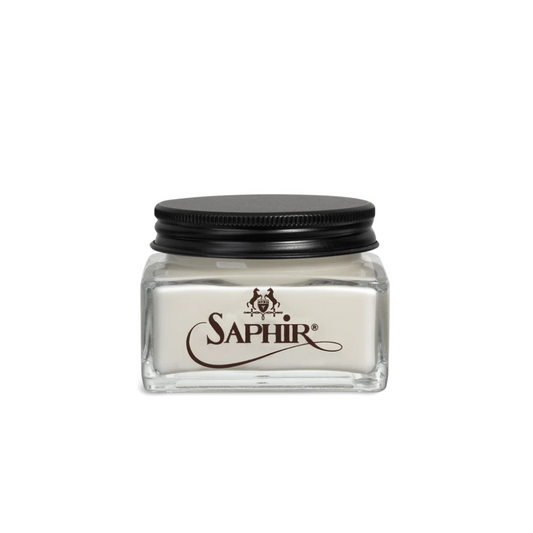
Saphir Médaille d'Or Renovateur Creme (75ml)
Regular price $34.50 SGDRegular priceUnit price per -
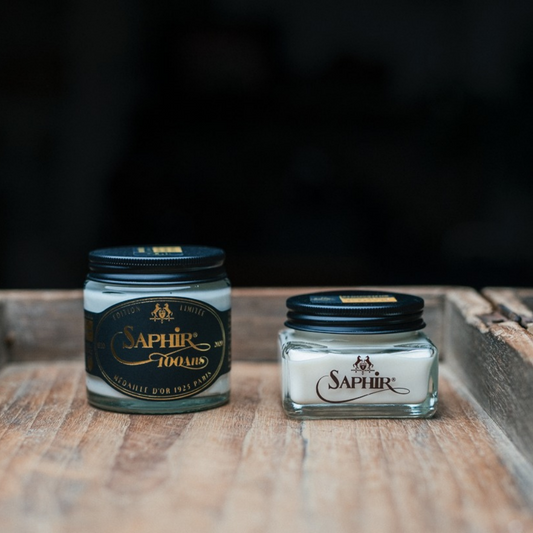
Saphir Médaille d'Or Cordovan Cream Shoe Polish (75ml)
Regular price $34.50 SGDRegular priceUnit price per -
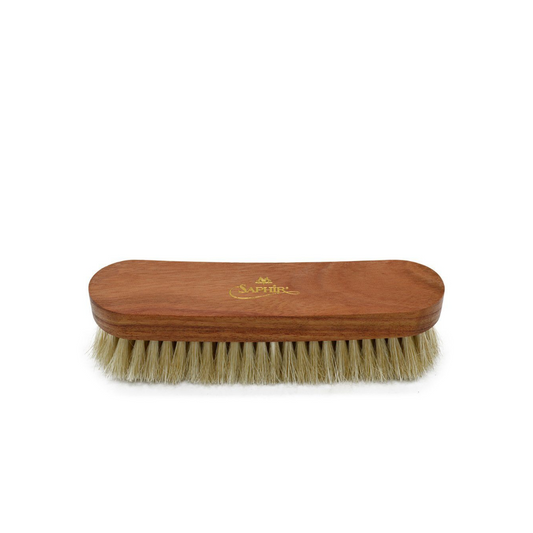
Saphir Médaille d'Or Boar Hair Polishing Brush
Regular price $45.50 SGDRegular priceUnit price per -
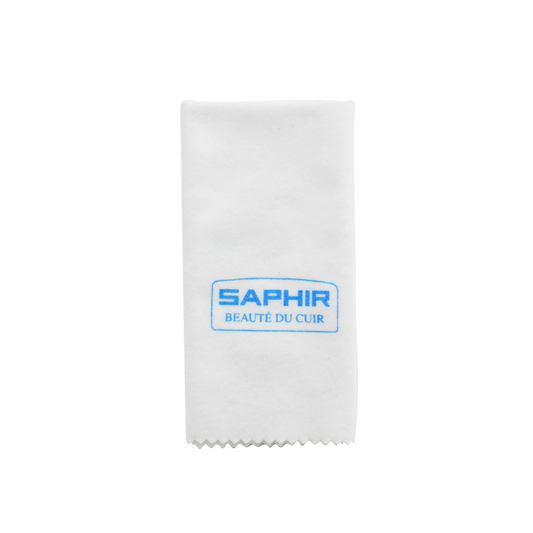
Saphir Beauté Du Cuir Polishing Cloth
Regular price $12.00 SGDRegular priceUnit price per -
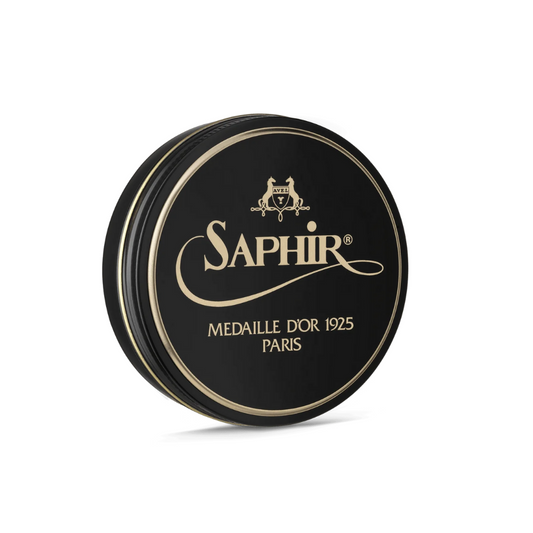
Saphir Médaille d'Or Pâte de Luxe Wax Polish (50ml)
Regular price $18.00 SGDRegular priceUnit price per -
Saphir Médaille d'Or Mirror Gloss
Regular price $34.50 SGDRegular priceUnit price per -
Premium Glass Water Dispenser
Regular price $40.00 SGDRegular priceUnit price per -
Saphir Médaille d'Or Super Invulner Spray (300ml)
Regular price $34.50 SGDRegular priceUnit price per